Bellcrank Service
- Service kit contains replaceable components. When bellcrank is overhauled, all components in kit should be used. When assembling be sure that new bearings are positioned in bellcrank 1/2" below bellcrank face (see Fig 1).
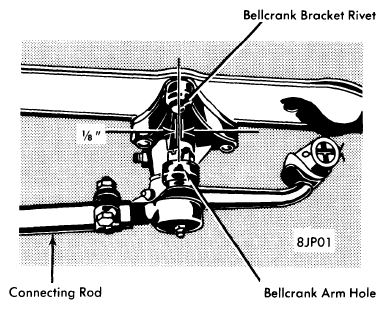
- After completing assembly, and before attaching connecting rods to bellcrank levers, make final adjustment to assembly as follows: With 7/16" diameter clamp bolt loosened, adjust locknut on end of bellcrank shaft until bellcrank just rotates freely without a bind. Tighten locknut. Assemble tie rod to bellcrank lever and connect drag link to bellcrank arm. Adjust ball joint by screwing in plug firmly against ball, then back off one full turn and lock with a new cotter pin.
 Courtesy of CHRYSLER GROUP, LLC