LEMON Manuals: Even more car manuals for everyone
Home >> Jaguar >> 2002 >> XK8 2D Convertible >> Repair and Diagnosis >> Engine Mechanical >> Mechanical >> Engine >> In Vehicle Repair >> Engine Front Cover >> Installation >> All vehicles

All vehicles

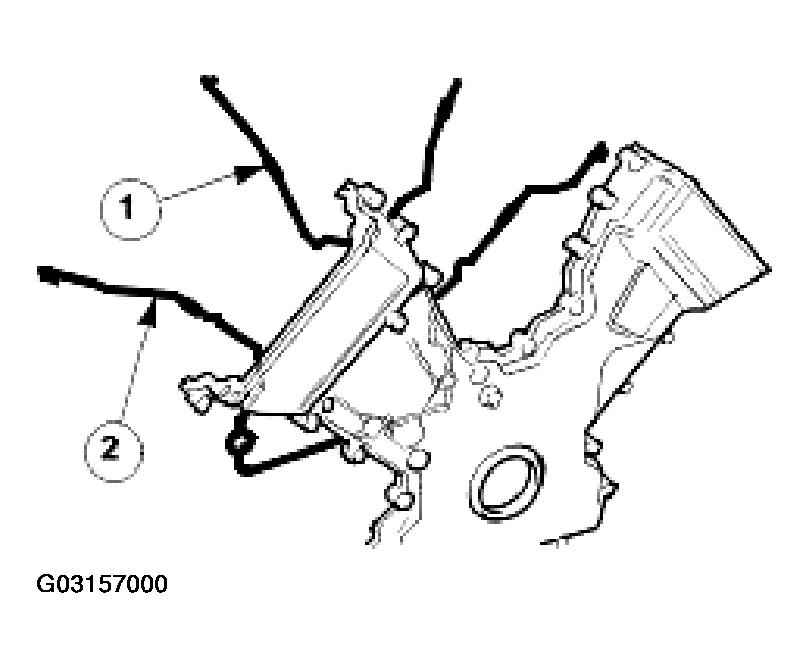
  1. Fit new seals to the engine front cover.
    • Install the new seal to the inner groove on the face of the timing cover. (1)
    • Install the new seal to the outer groove on the face of the timing cover. (2)
    Fig 1: Installing New Front Cover Seals
    G03157000Courtesy of JAGUAR CARS, INC.
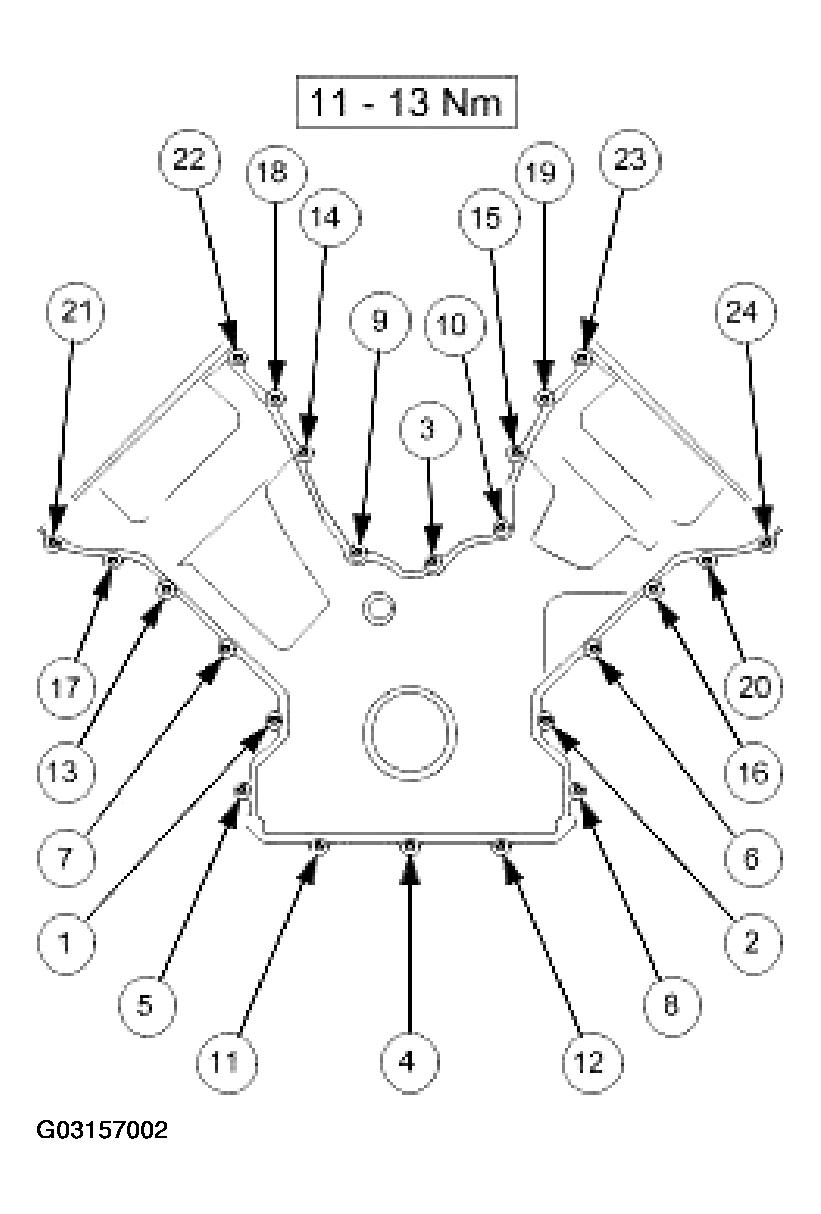
  2. Apply sealant to the eight joints on the engine face.
    • Sealant beads to be 3mm diameter and 12mm long. Cut the nozzle of the sealant tube to produce a 3mm bead. (Fit and tighten the securing bolts within twenty minutes of sealant application)
    Fig 2: Applying Sealant To Eight Joints On Engine Face
    G03157001Courtesy of JAGUAR CARS, INC.
  3. Install the engine front cover.
    • Complete the tightening sequence.
    • Tighten to 11 -13 Nm.
    Fig 3: Engine Front Cover Tightening Sequence
    G03157002Courtesy of JAGUAR CARS, INC.


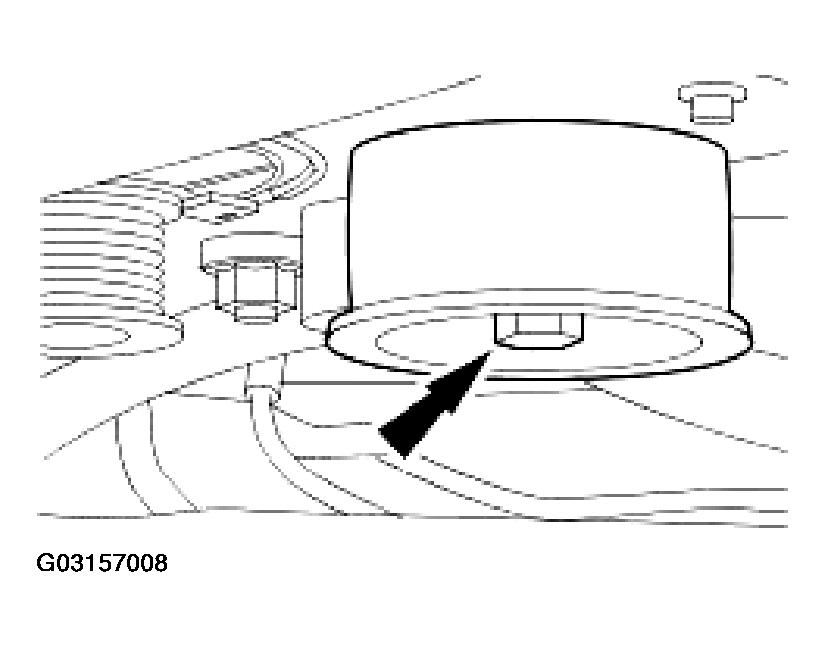
  1. Install the accessory drive belt idler pulley.
    • Tighten to 61 Nm.
    Fig 1: Installing Accessory Drive Belt Idler Pulley
    G03157008Courtesy of JAGUAR CARS, INC.


  1. Install the accessory drive belt tensioner.
    • Tighten to 43 Nm.
  2. Attach the engine harness to the engine front cover.
    Fig 1: Installing Accessory Drive Belt Tensioner
    G03157013Courtesy of JAGUAR CARS, INC.
  3. Install the water pump pulley.
    • Tighten to 12 Nm.
    Fig 2: Installing Water Pump Pulley
    G03157014Courtesy of JAGUAR CARS, INC.
  4. Install the crankshaft pulley. For additional information, refer to CRANKSHAFT PULLEY - VEHICLES WITHOUT: SUPERCHARGER  or CRANKSHAFT PULLEY - VEHICLES WITH: SUPERCHARGER .
  5. Install the left-hand valve cover. For additional information, refer to VALVE COVER LH .
  6. Install the right-hand valve cover. For additional information, refer to VALVE COVER RH .
  7. Reset the hood to the normal position.
  8. Connect the battery and fit the battery cover.