LEMON Manuals: Even more car manuals for everyone
Home >> Infiniti >> 2003 >> QX4 RWD >> Repair and Diagnosis >> Transmission >> Automatic Trans >> Automatic Transmission Overhaul >> Repair For Component Parts >> Control Valve Upper Body >> Assembly

Control Valve Upper Body: Assembly

  1. Lubricate the control valve body and all valves with ATF. Install control valves by sliding them carefully into their bores.
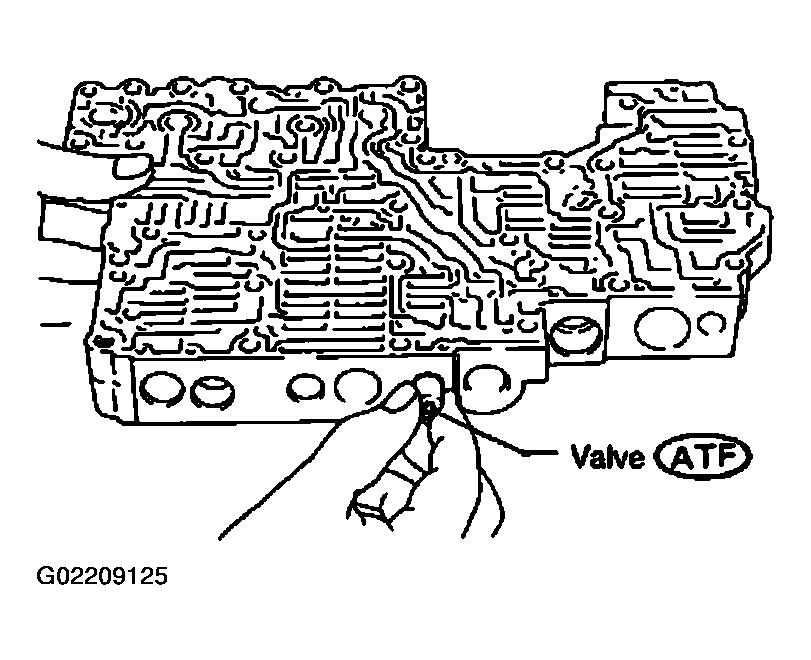
    Fig 1: Installing Control Valves Into Bores
    G02209125Courtesy of NISSAN MOTOR CO., U.S.A.
    CAUTION: Be careful not to scratch or damage valve body. 
    • Wrap a small screwdriver with vinyl tape and use it to insert the valves into proper position.
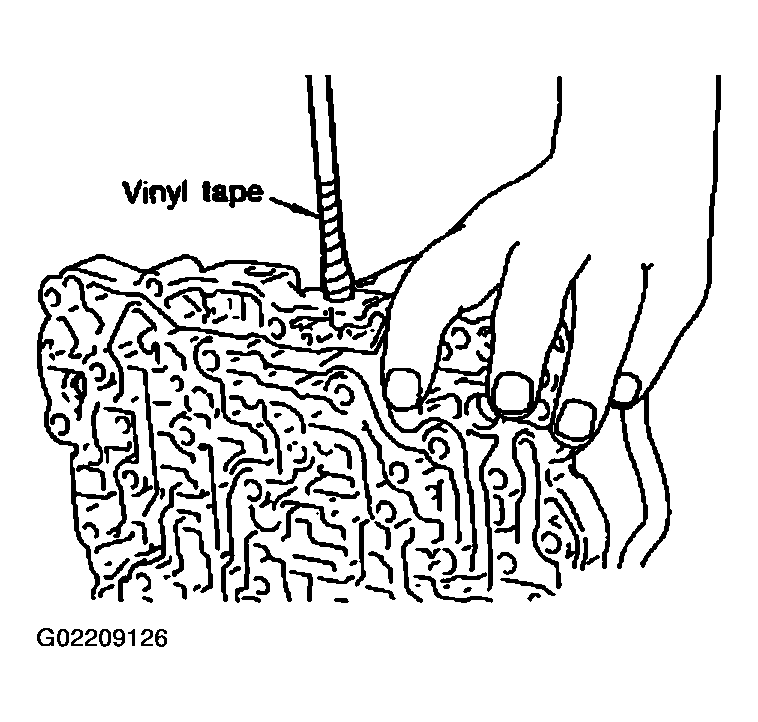
      Fig 2: Inserting Valves Into Proper Position
      G02209126Courtesy of NISSAN MOTOR CO., U.S.A.
      1. Pressure regulator valve 
        • If pressure regulator plug is not centered properly, sleeve cannot be inserted into bore in upper body. If this happens, use vinyl tape wrapped screwdriver to center sleeve until it can be inserted.
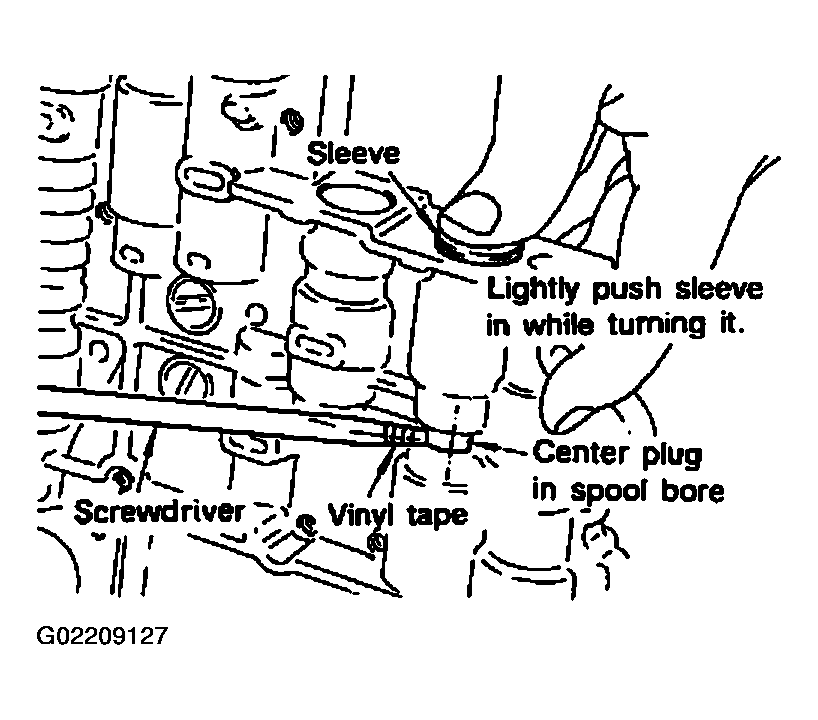
          Fig 3: Turning Sleeve Slightly While Installing
          G02209127Courtesy of NISSAN MOTOR CO., U.S.A.
        • Turn sleeve slightly while installing.
      2. Accumulator control plug 
        • Align protrusion of accumulator control sleeve with notch in plug.
        • Align parallel pin groove in plug with parallel pin, and install accumulator control valve.
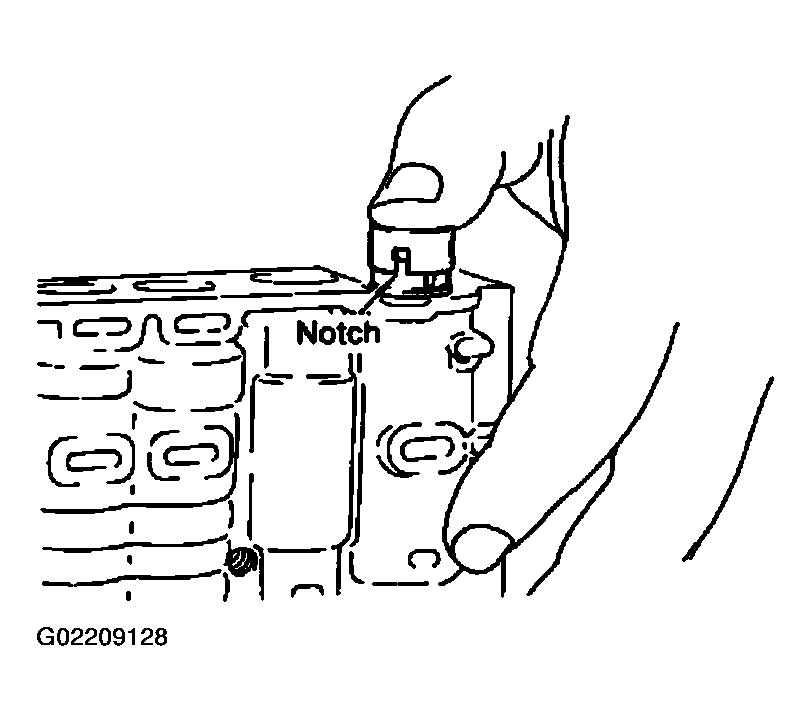
          Fig 4: Identifying & Locating Notch
          G02209128Courtesy of NISSAN MOTOR CO., U.S.A.
  2. Install parallel pins and retainer plates.
    Fig 5: Installing Parallel Pins & Retainer Plates
    G02209129Courtesy of NISSAN MOTOR CO., U.S.A.
    CAUTION: While pushing plug, install parallel pin. 
    Fig 6: Installing Parallel Pin
    G02209130Courtesy of NISSAN MOTOR CO., U.S.A.
    • 4-2 sequence valve and relay valve 
      • Push 4-2 sequence valve and relay valve with wire wrapped in vinyl tape to prevent scratching valve body. Install parallel pins.
        Fig 7: Pushing 4-2 Sequence Valve & Relay Valve
        G02209131Courtesy of NISSAN MOTOR CO., U.S.A.
      • Insert retainer plate while pushing spring.
        Fig 8: Inserting Retainer Plate While Pushing Spring
        G02209132Courtesy of NISSAN MOTOR CO., U.S.A.