Repair procedures: Removal
- Preparation
- Remove the 2nd seat (Refer to REAR SEAT
).
- Open the carpet for fuel pump (A).
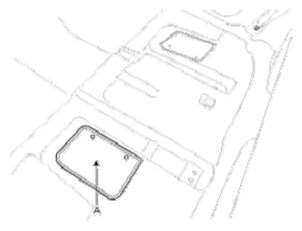 Courtesy of HYUNDAI MOTOR CO.
- Remove the service cover of the fuel pump (A).
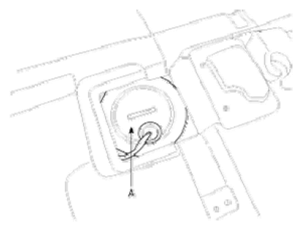 Courtesy of HYUNDAI MOTOR CO.
- Disconnect the fuel pump connector (A).
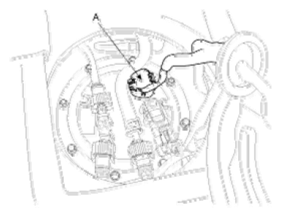 Courtesy of HYUNDAI MOTOR CO.
- Start the engine and wait until fuel in fuel line is exhausted.
- After engine stops, turn the ignition switch off.
- Disconnect the fuel tank pressure sensor connector (A).
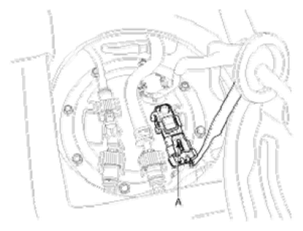 Courtesy of HYUNDAI MOTOR CO.
- Open the service cover of the sub fuel sender (A).
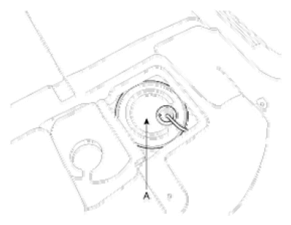 Courtesy of HYUNDAI MOTOR CO.
- Disconnect the sub fuel sender connector (A) and the canister close valve connector (B).
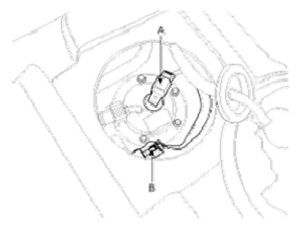 Courtesy of HYUNDAI MOTOR CO.
- Lift the vehicle and remove the muffler assembly and the propeller shaft (4WD) (Refer to EXHAUST MANIFOLD
and PROPELLER SHAFT ASSEMBLY
).
- Support the fuel tank with a jack.
- Disconnect the fuel feed tube quick-connector (A) and the vacuum tube quick-connector (B).
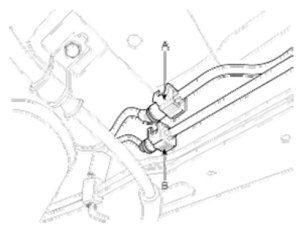 Courtesy of HYUNDAI MOTOR CO.
- Remove the bracket (A) near the fuel tank air filter.
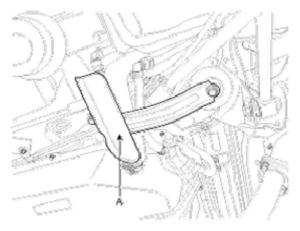 Courtesy of HYUNDAI MOTOR CO.
- Disconnect the fuel filler hose (A) and the ventilation hose quick-connector (B).
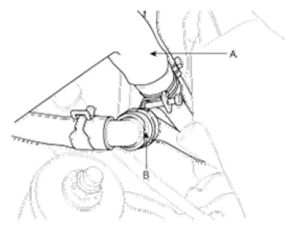 Courtesy of HYUNDAI MOTOR CO.
- Disconnect the leveling tube quick-connector (A).
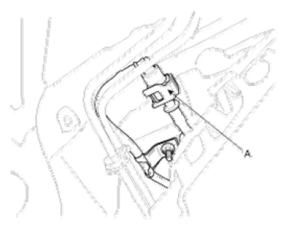 Courtesy of HYUNDAI MOTOR CO.
- Remove the fuel tank cover (A).
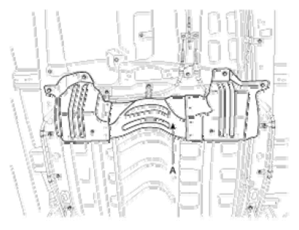 Courtesy of HYUNDAI MOTOR CO.
- Unscrew the fuel tank bank mounting nuts (A) and remove the fuel tank from the vehicle.
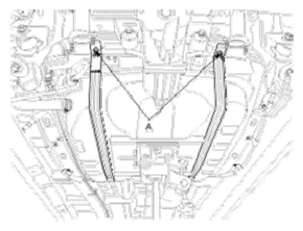 Courtesy of HYUNDAI MOTOR CO.