Repair procedures: Disassembly
- If the front bearing needs replacing, remove the pulley with a hexagonal wrench.
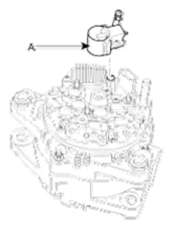
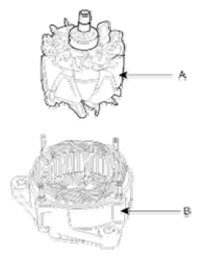
- Remove the generator cover (A) after removing the three nuts (B).
 Courtesy of HYUNDAI MOTOR CO.
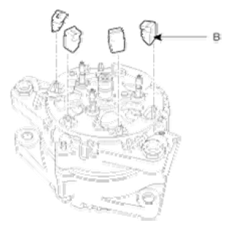
- Remove the brush holder (A).
 Courtesy of HYUNDAI MOTOR CO.
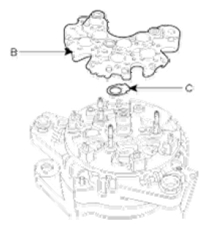
- Remove the four screws, the rectifier (B) and the rubber seal (C).
 Courtesy of HYUNDAI MOTOR CO.
- Remove the four nuts (A) and insulators (B).
 Courtesy of HYUNDAI MOTOR CO.
 Courtesy of HYUNDAI MOTOR CO.
- Remove the rear bracket assembly (A) and washer (B).
 Courtesy of HYUNDAI MOTOR CO.
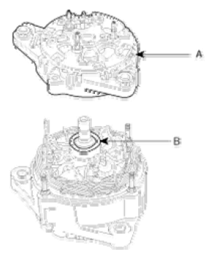
- Remove the rotor (A) from the stator and front frame assembly (B).
 Courtesy of HYUNDAI MOTOR CO.