Installation Procedure
 Courtesy of GENERAL MOTORS COMPANY
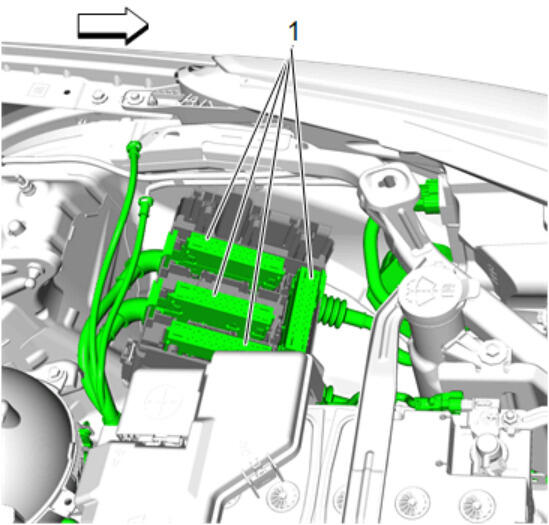
- Ensure all electrical connectors (1) are properly seated in the bracket assembly cavity.
 Courtesy of GENERAL MOTORS COMPANY
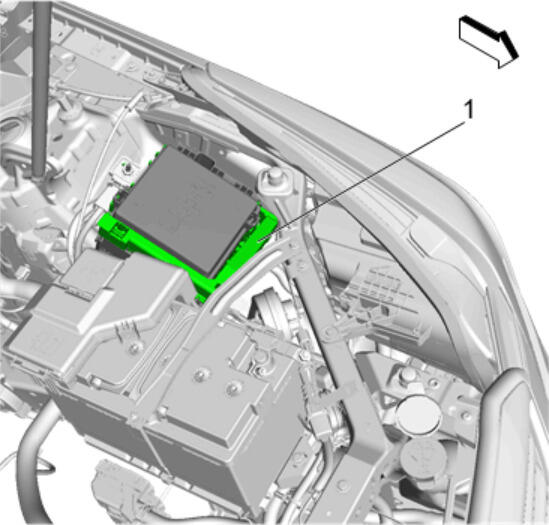
- Ensure the lever (1) is in the fully closed position prior to pre-set to the bracket assembly.
 Courtesy of GENERAL MOTORS COMPANY
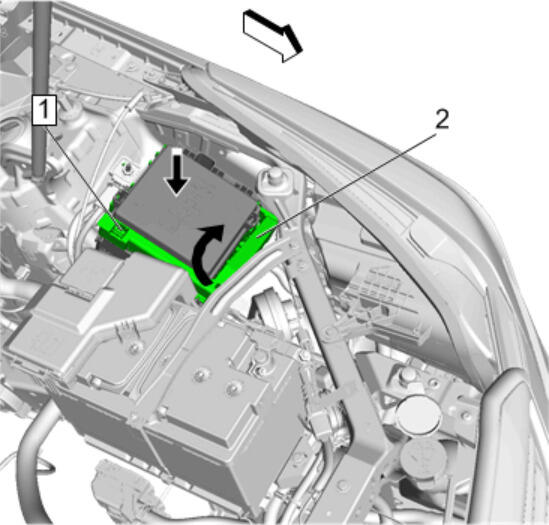
- Pre-set the engine wiring harness junction block, ensuring that the 4 integral T-features are properly aligned prior to applying downward force.
- Release the lever lock (1) and pull the handle (2) upwards.
- Pull lever when it is fully open, while at the same time, push down lightly on the top cover to engage the lever side features.
 Courtesy of GENERAL MOTORS COMPANY
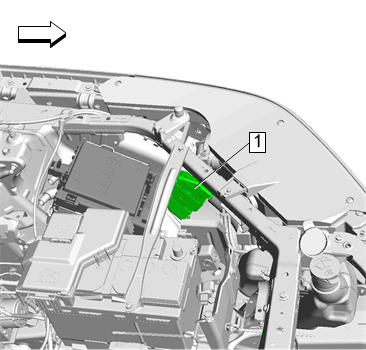
- Push the lever (1) closed to secure the block assembly to the bracket assembly and connectors.
 Courtesy of GENERAL MOTORS COMPANY
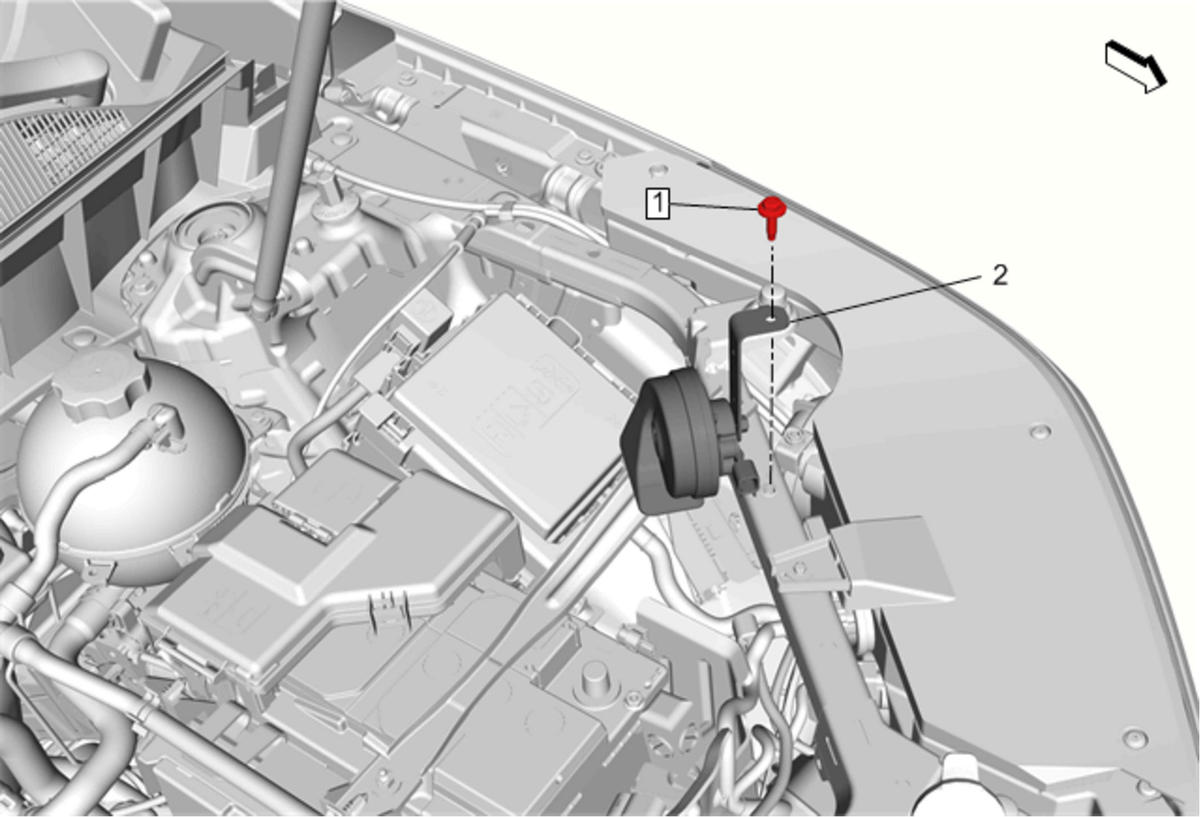
- Connect Electrical Connector (1)
 Courtesy of GENERAL MOTORS COMPANY
- Install Horn (2)Horn Replacement (Left SIde)Horn Replacement (Right Side)
 Courtesy of GENERAL MOTORS COMPANY
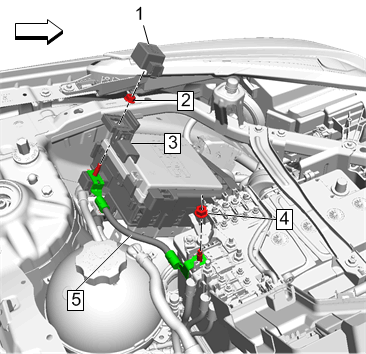
- Battery Positive Junction Block Cable (5) @Engine Wiring Harness Junction Block Battery Positive Junction Block Cable Replacement
- Connect the battery negative cable. Battery Negative Cable Disconnection and Connection (Without KL9) Battery Negative Cable Disconnection and Connection (With KL9)