Installation Procedure
- Position the stabilizer shaft on the front frame.
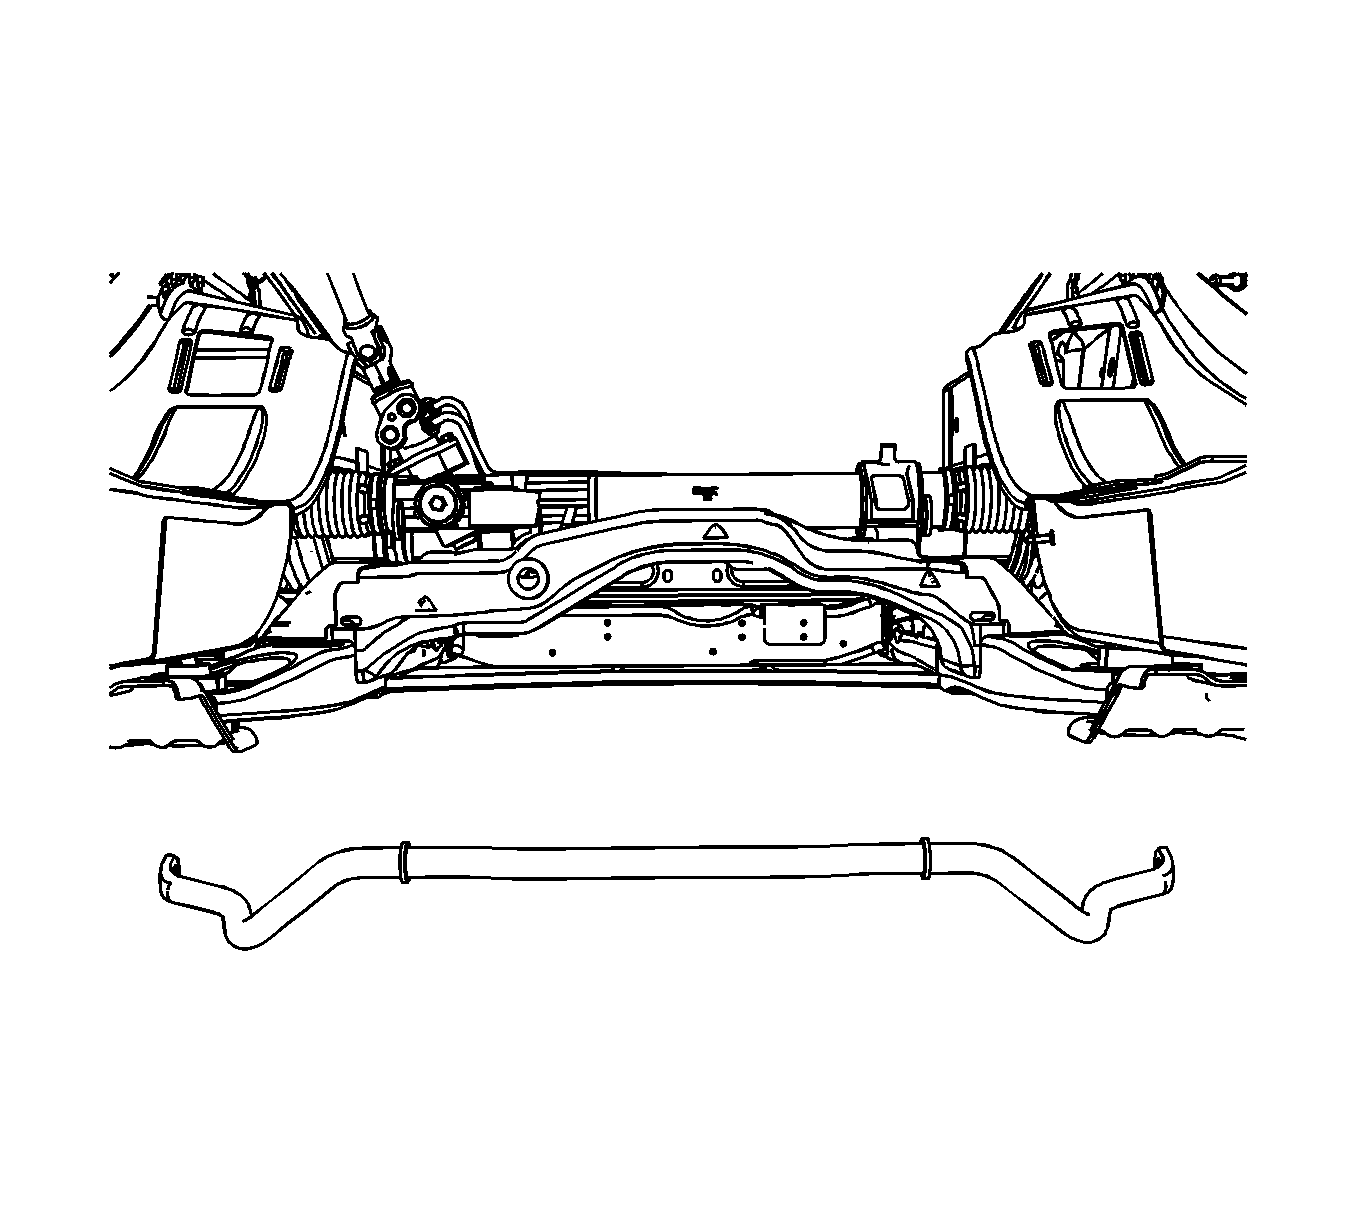 Courtesy of GENERAL MOTORS COMPANY
- Install the left and right stabilizer shaft insulators and brackets. Refer to Stabilizer Shaft Insulator Replacement .
- Connect the stabilizer shaft links to the stabilizer shaft. Refer to Stabilizer Shaft Link Replacement .
- Using the jack stands, raise the front frame to the vehicle body leaving a gap of approximately 12 mm (0.5 in).
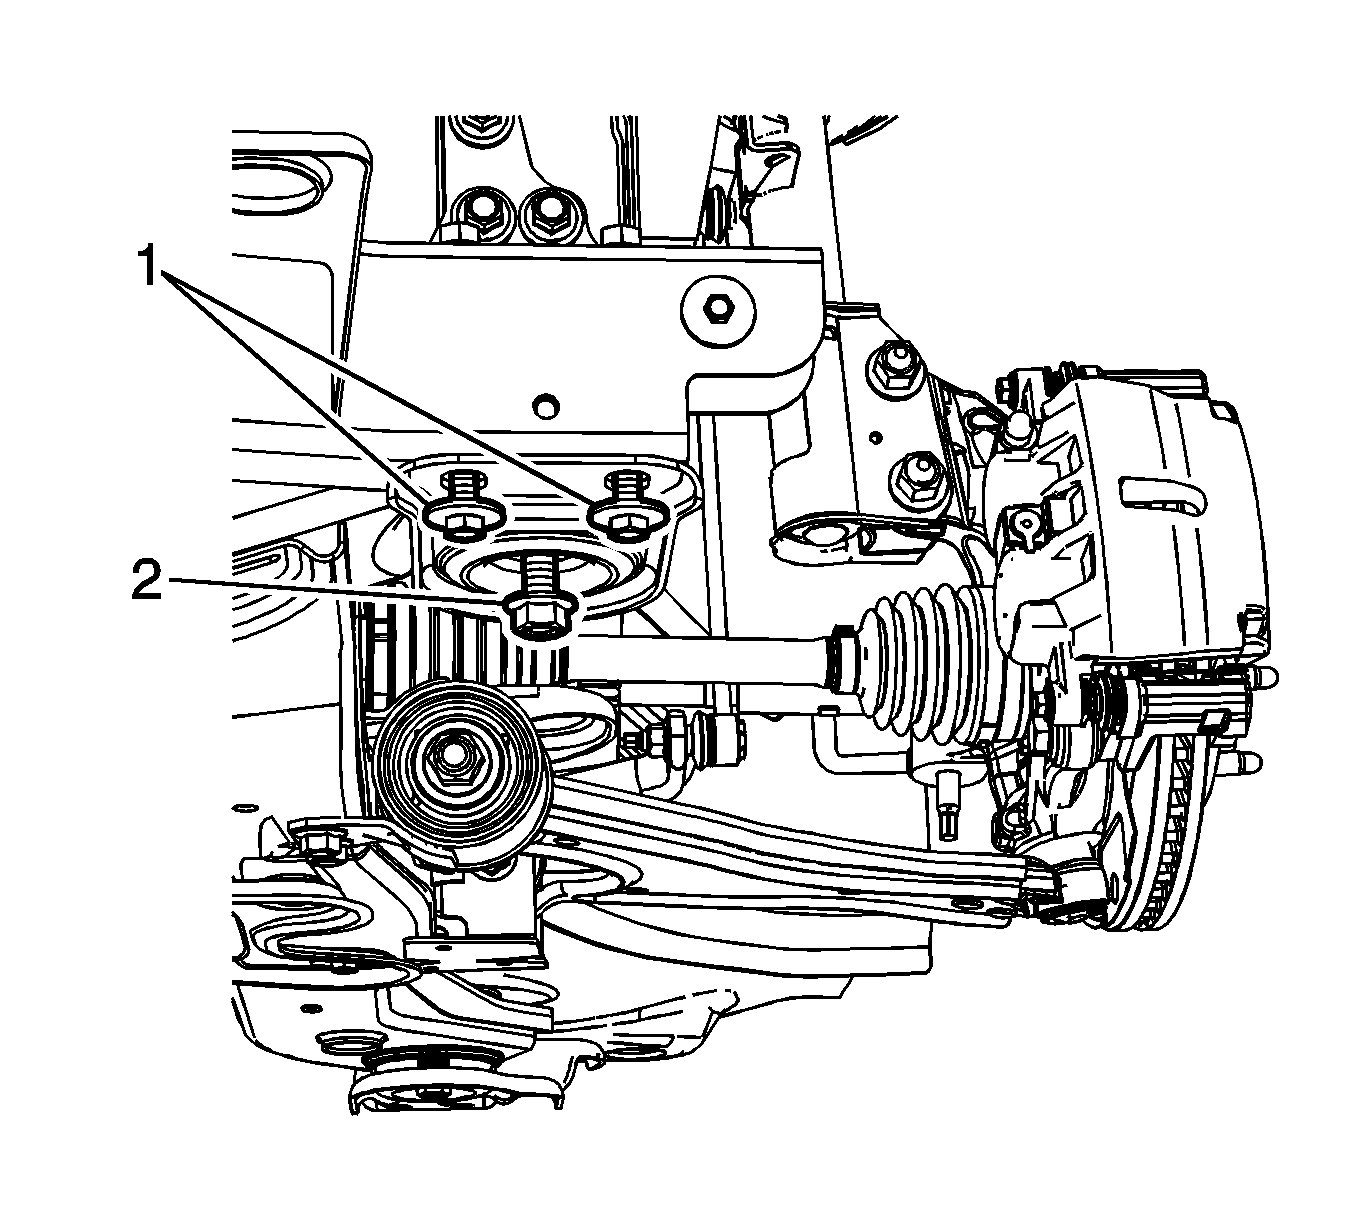
- Install the front frame mounting bolts (2) and tighten to 110 N.m (81 lb ft).
 Courtesy of GENERAL MOTORS COMPANY
- Tighten the front frame mounting bolts an additional 90°.
- Tighten the front frame reinforcement mounting bolts (1) to 50 N.m (37 lb ft).
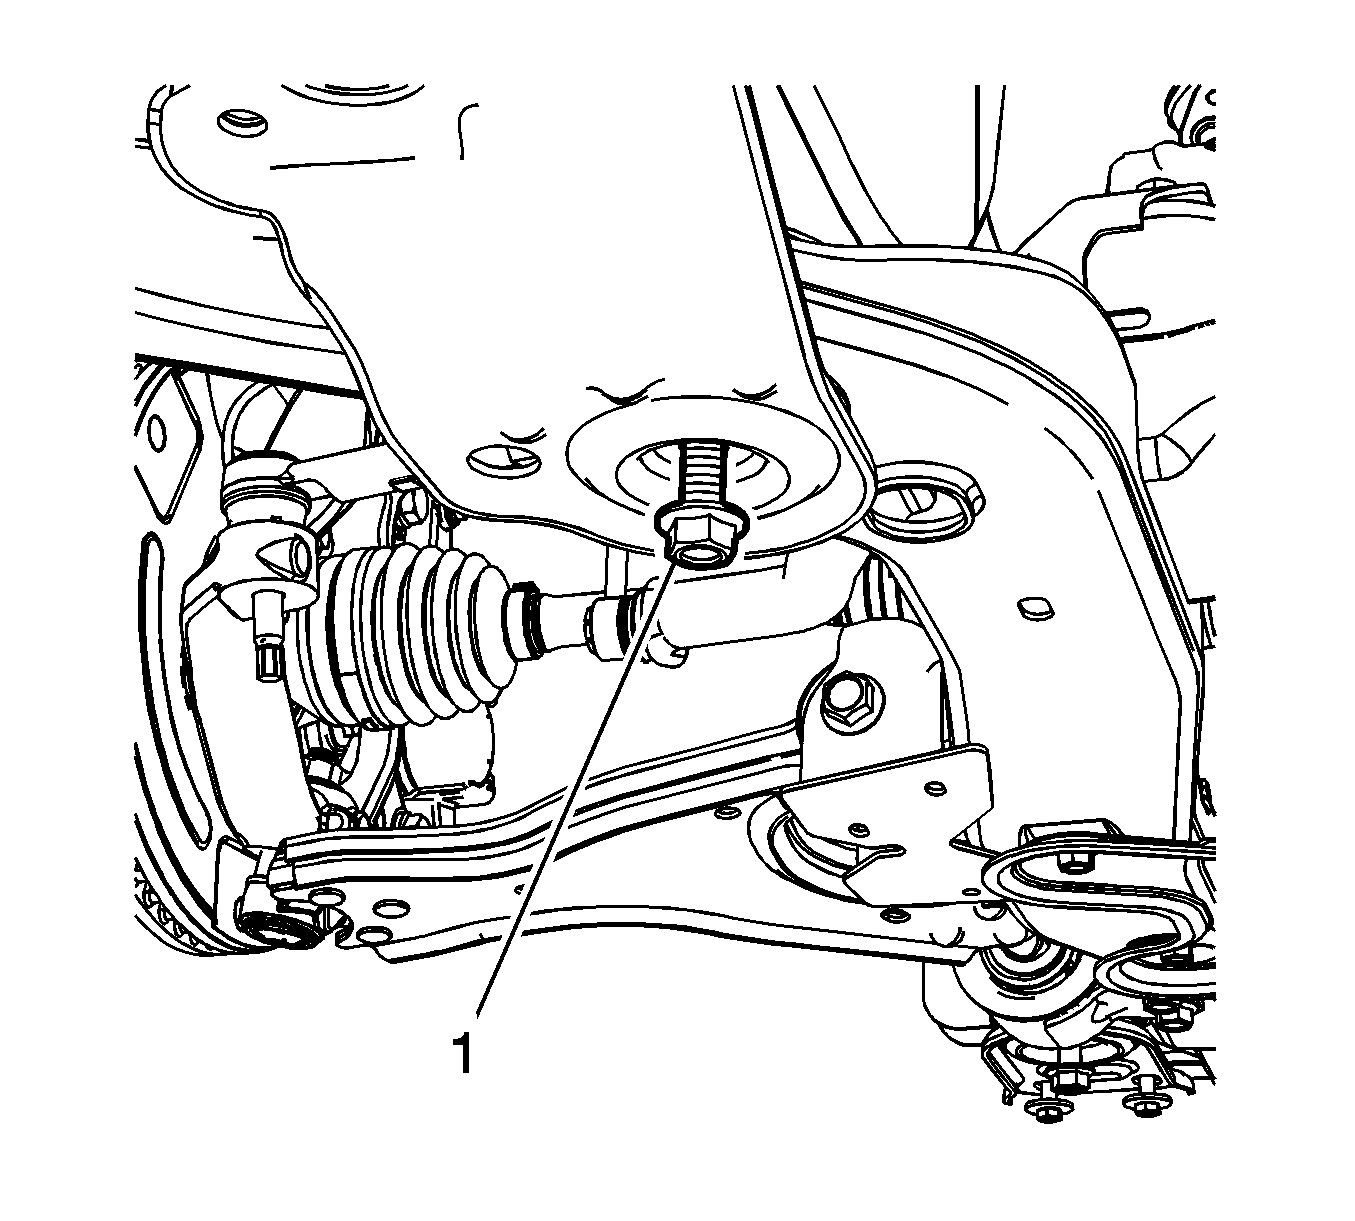
- Install the front frame rear mounting bolts (1) and tighten to 110 N.m (81 lb ft).
 Courtesy of GENERAL MOTORS COMPANY
- Tighten the front frame rear mounting bolts an additional 90°.
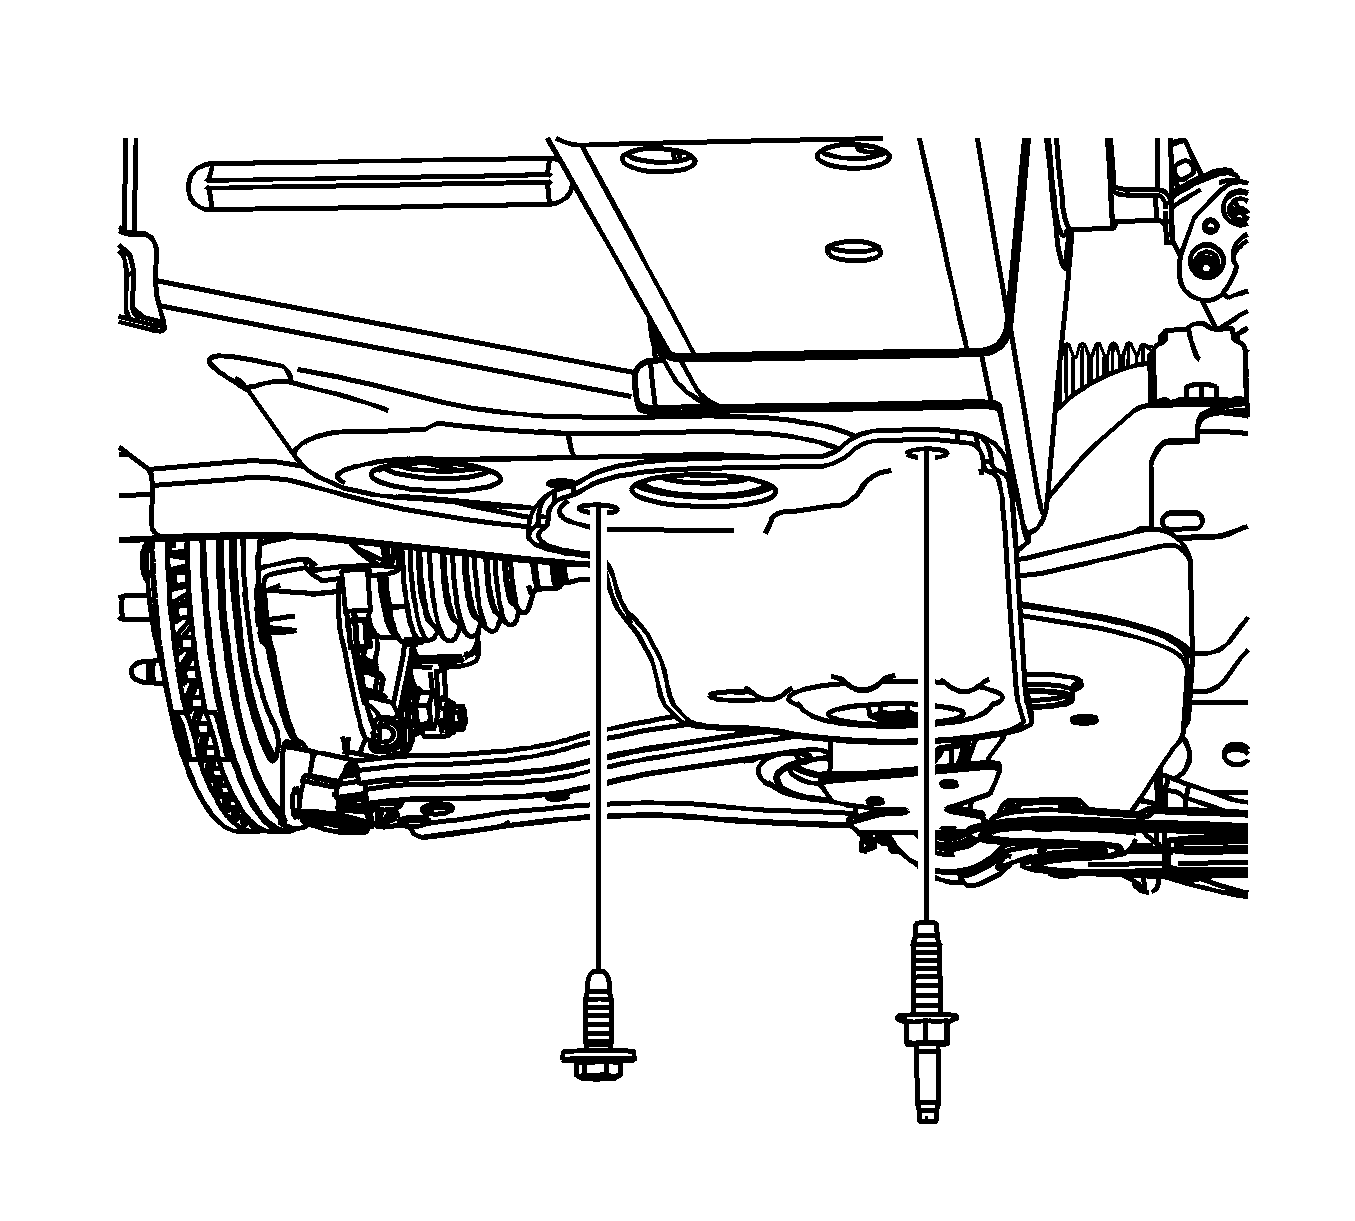
- Install the left and right front frame reinforcement mounting bolts and tighten to 50 N.m (37 lb ft).
 Courtesy of GENERAL MOTORS COMPANY
- Remove the adjustable jack stands.
- Install the bolt from the intermediate shaft bracket to the front cradle. Refer to Front Wheel Drive Intermediate Shaft Replacement
.
- Connect the outer tie rods to the knuckle. Refer to Steering Linkage Outer Tie Rod Replacement
.
- Install the rear propeller shaft, if equipped. Refer to Propeller Shaft Replacement
.
- Install the front tire and wheel assemblies. Refer to Tire and Wheel Removal and Installation
.
- Remove the support and lower the vehicle.