Removal Procedure
 Courtesy of GENERAL MOTORS CORP.
- Apply the park brake.
- Position the shift controller in the NEUTRAL position.
- Raise the vehicle. Refer to Lifting and Jacking the Vehicle
in General Information.
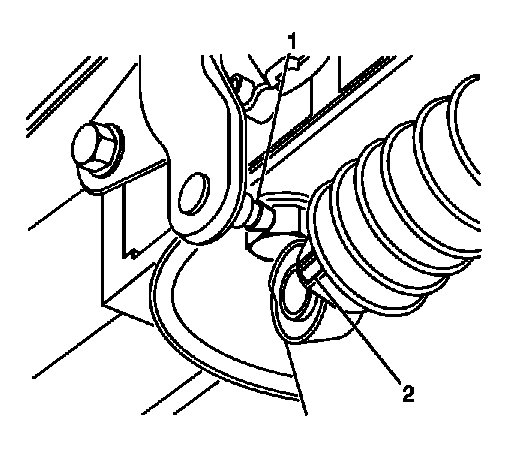
- Disconnect the range selector cable (2) from the range selector lever ball stud (1).
 Courtesy of GENERAL MOTORS CORP.
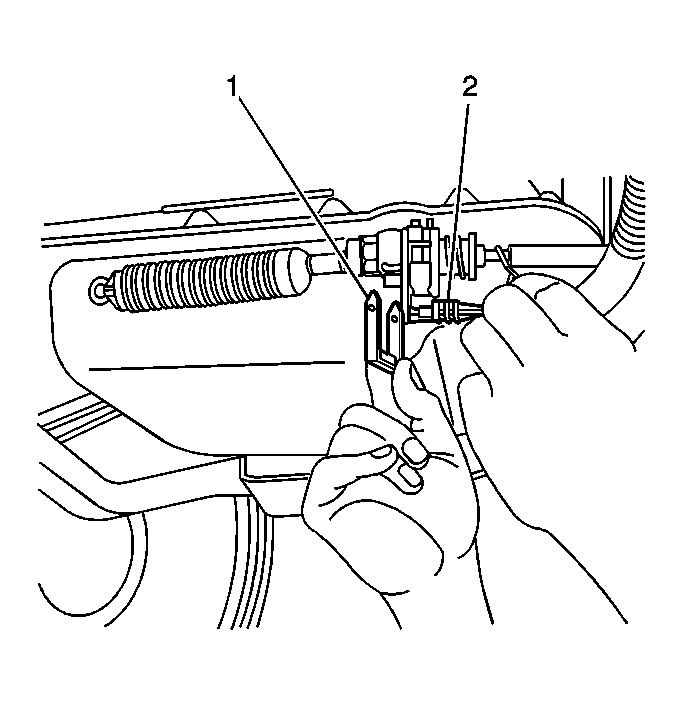
- Remove the positive assurance pin (2) from the bracket.
- Remove the retainer (1) from the range selector cable and transmission bracket.
- Depress the tangs and remove the range selector cable from the bracket.
- Remove the transfer case shield, if equipped. Refer to the appropriate procedure:
 Courtesy of GENERAL MOTORS CORP.
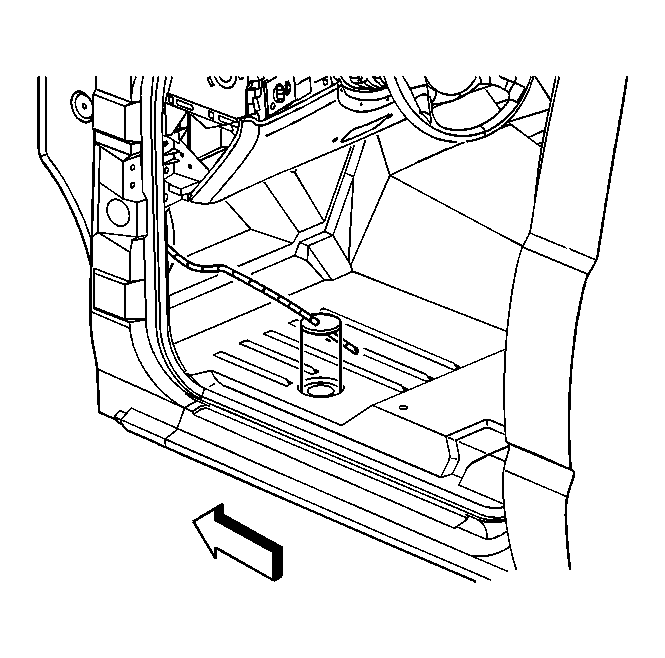
- Push the range selector cable grommet up through the floor panel of the vehicle.
- Lower the vehicle.
- Remove the console. Refer to Console Replacement - Front Floor (Full Length (Auto Trans))
or Console Replacement - Front Floor (Non-Full Length)
or Console Replacement - Front Floor (Full-Length (Manual Trans))
in Instrument Panel, Gages, and Console.
- Remove the front mat and carpet. Refer to Mat/Carpet Replacement - Front Floor (Utility)
in Instrument Panel, Gages, and Console.
- Ensure that the transmission is in the mechanical neutral position.
 Courtesy of GENERAL MOTORS CORP.
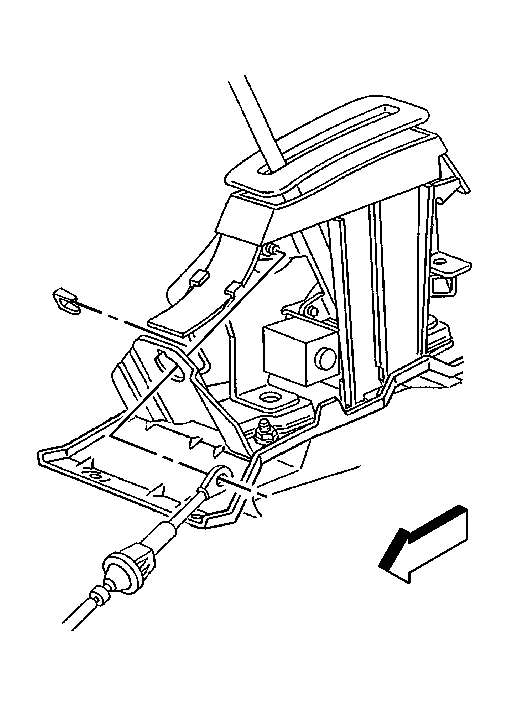
- Disconnect the cable end from the controller ball stud.
- Remove the retainer securing the cable to the controller.
- Depress the tangs and remove the cable from the controller.
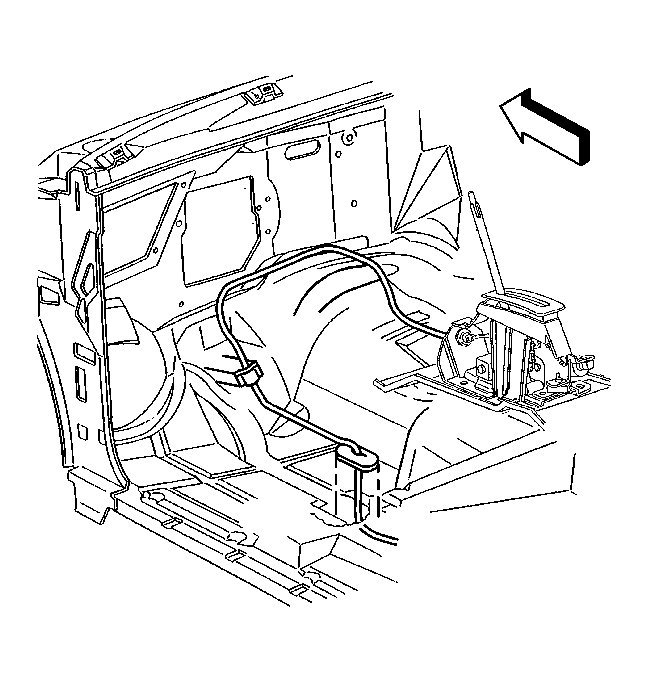 Courtesy of GENERAL MOTORS CORP.
- Remove the sound deadening material from the floor panel that covers the cable.
- Pull the cable up through the opening in the floor panel and remove the cable from the vehicle.