Installation Procedure
 Courtesy of GENERAL MOTORS CORP.
- Install the cable through the opening in the floor panel.
- Install the grommet to the floor panel.
- Install the sound deadening material that covers the cable.
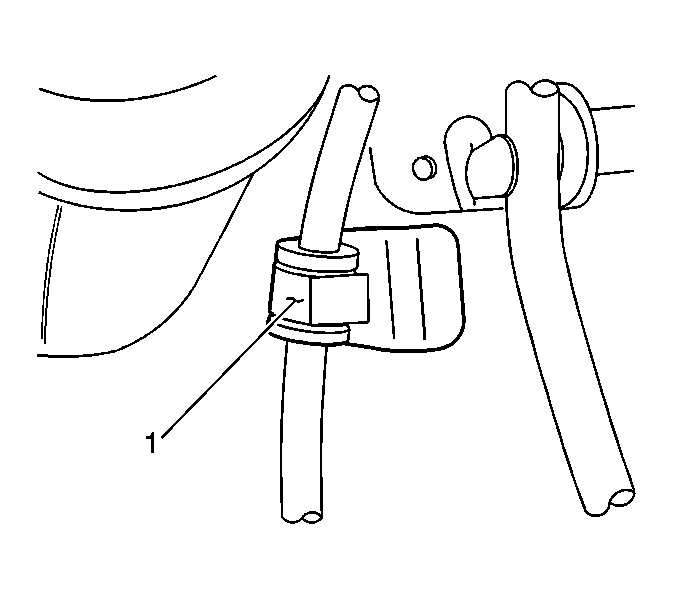
- Install the cable to the retainer (1) located next to the accelerator pedal.
 Courtesy of GENERAL MOTORS CORP.
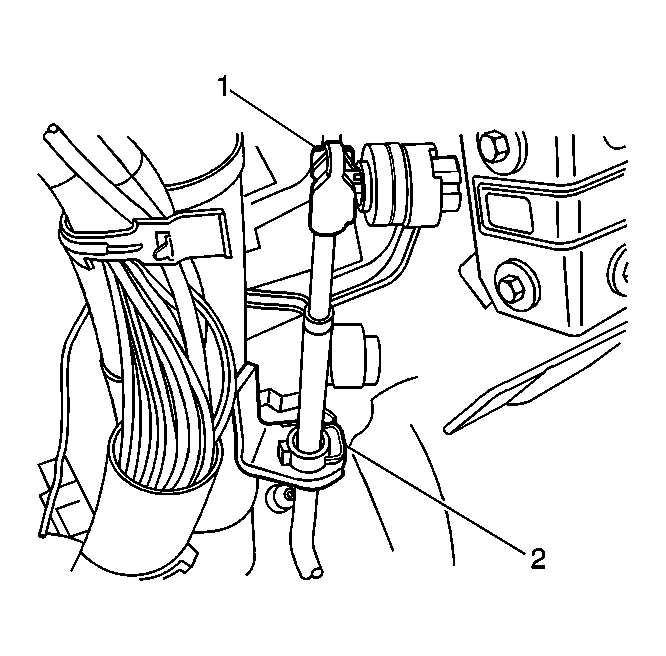
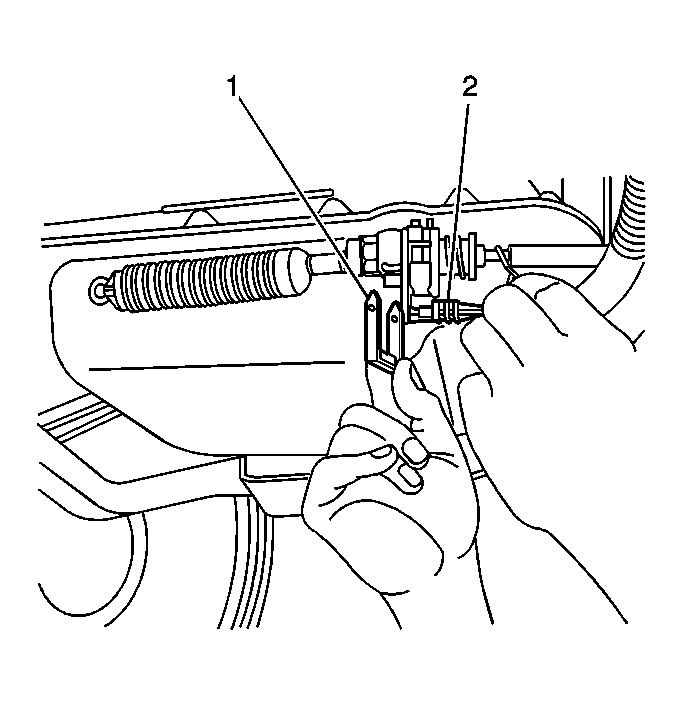
- Install the cable to the steering column bracket.
- Install the retainer (2) that secures the cable to the steering column bracket.
- Install the cable end (1) to the steering column ball stud.
 Courtesy of GENERAL MOTORS CORP.
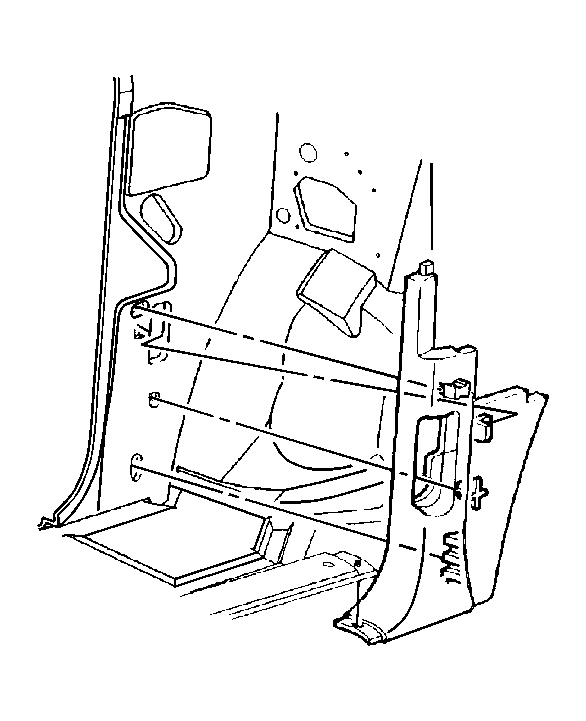
- Install the carpet and insulation to the drivers side floor area.
- Install the door sill plate and the left hinge pillar trim panel. Refer to Trim Panel Replacement - Left Hinge Pillar
in Interior Trim.
 Courtesy of GENERAL MOTORS CORP.
- Install the knee bolster and instrument panel trim. Refer to Knee Bolster Replacement
in Instrument Panel, Gages, and Console.
 Courtesy of GENERAL MOTORS CORP.
- Ensure that the steering column shift lever is in the NEUTRAL position.
- Raise the vehicle. Refer to Lifting and Jacking the Vehicle
in General Information.
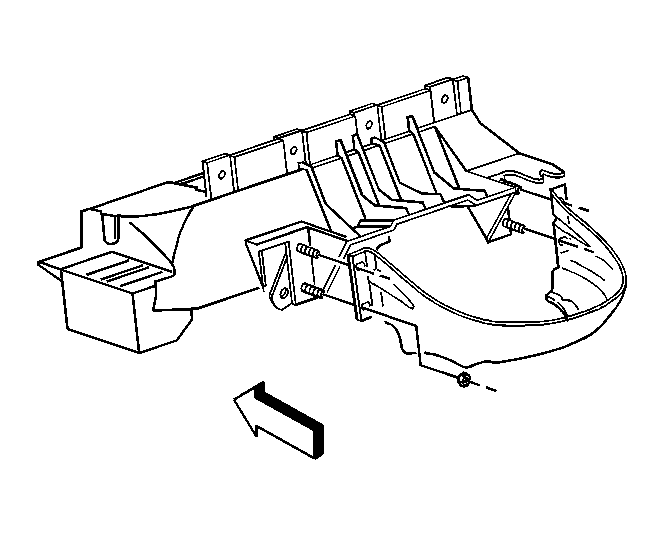
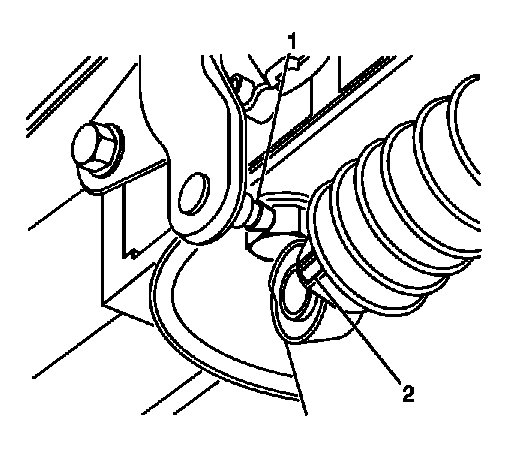
- Install the range selector cable to the bracket.
- Install the retainer (1) to the range selector cable and transmission bracket.
 Courtesy of GENERAL MOTORS CORP.
- Ensure that the transmission range selector lever is in the NEUTRAL position.
- Following the adjustment procedure, install the range selector cable (2) to the range selector cable lever ball stud (1). Refer to Automatic Transmission Range Selector Cable Adjustment .
- Install the positive assurance pin to the bracket.
- Install the transfer case shield, if equipped. Refer to the appropriate procedure:
- Lower the vehicle and check for proper operation. Repeat the adjustment procedure if necessary. Refer to Automatic Transmission Range Selector Cable Adjustment .