Selector Lever Bezel: Installation
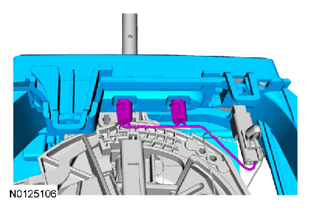
- Connect the electrical harness to the selector lever bezel.
 Courtesy of FORD MOTOR CO.
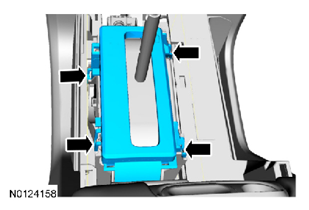
- Install the selector lever bezel onto the selector lever housing.
 Courtesy of FORD MOTOR CO.
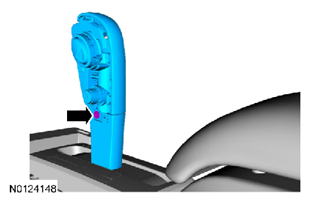
- Connect the select shift and the Tow/Haul electrical connectors and install the selector lever knob.
- Install a new LH selector lever knob screw.
 Courtesy of FORD MOTOR CO.
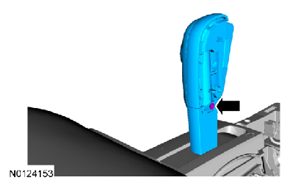
- Install a new RH selector lever knob screw.
 Courtesy of FORD MOTOR CO.
- Install a new LH selector lever knob cover.
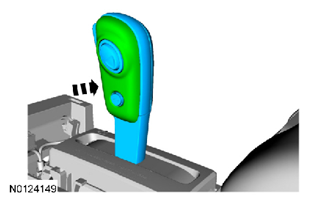 Courtesy of FORD MOTOR CO.
- Install a new RH selector lever knob cover.
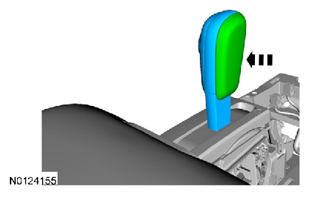 Courtesy of FORD MOTOR CO.
- Connect and install the floor console upper finish panel.
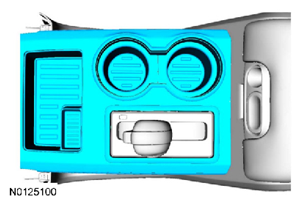 Courtesy of FORD MOTOR CO.
- Install the instrument panel to floor console finish panel.
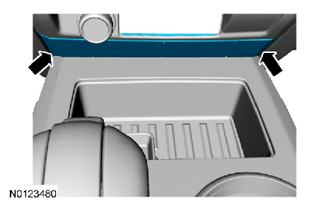 Courtesy of FORD MOTOR CO.