Cover Assembly: Disassembly
- Remove the bolt and the Turbine Shaft Speed (TSS) sensor.
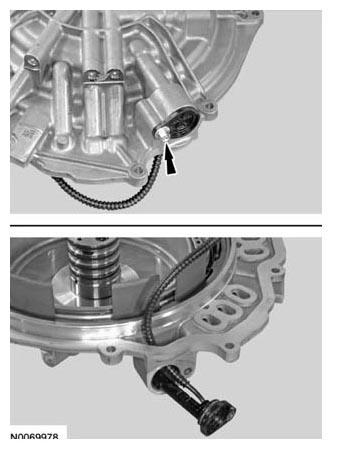 Courtesy of FORD MOTOR CO.
- Using the Forward/Intermediate Spring Compressor 307-584/1 and 307-584/2, compress the intermediate clutch return spring, using a press and remove the snap ring.
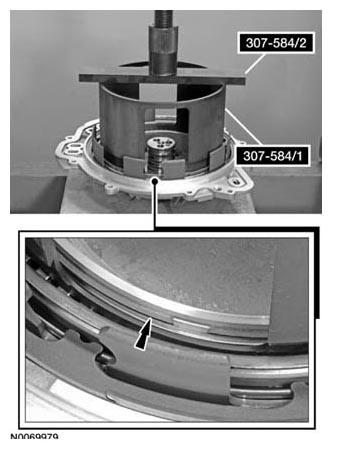 Courtesy of FORD MOTOR CO.
- Remove the Forward/Intermediate Spring Compressor 307-584/1 and 307-584/2.
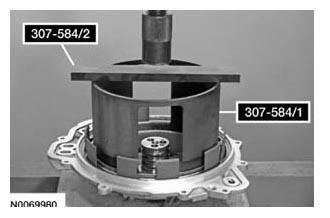 Courtesy of FORD MOTOR CO.
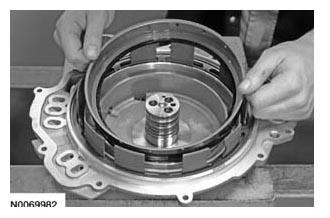
- Remove the intermediate clutch return spring.
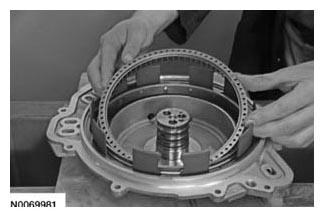 Courtesy of FORD MOTOR CO.
- Remove and discard the intermediate clutch piston.
 Courtesy of FORD MOTOR CO.
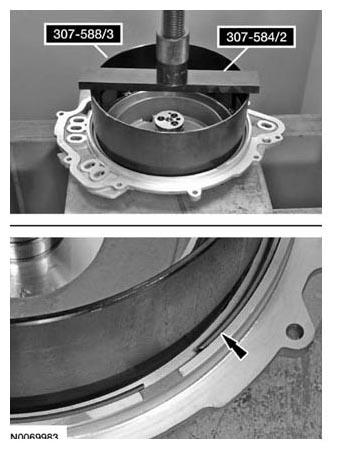
- Install the Forward/Intermediate Spring Compressor 307-584/2 and the Reverse Clutch Piston and Retaining Ring Set 307-588/3, using a press, compress the low/reverse clutch return spring and remove the snap ring.
 Courtesy of FORD MOTOR CO.
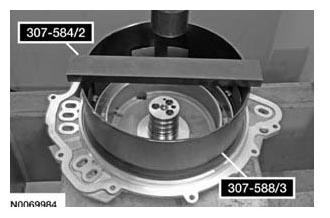
- Remove the Forward/Intermediate Spring Compressor 307-584/2 and the Reverse Clutch Piston and Retaining Ring Set 307-588/3.
 Courtesy of FORD MOTOR CO.
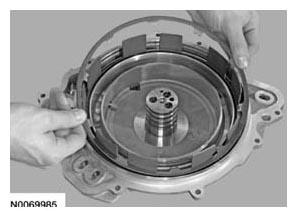
- Remove the low/reverse clutch return spring.
 Courtesy of FORD MOTOR CO.
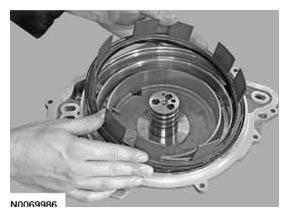
- Remove and discard the low/reverse clutch piston.
 Courtesy of FORD MOTOR CO.
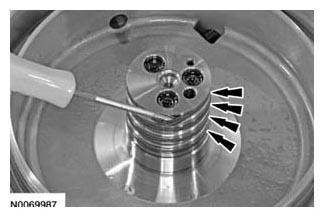
- Using a suitable tool, remove and discard the 4 Teflon® seals.
 Courtesy of FORD MOTOR CO.
- Clean and inspect the cover for damage. Install a new cover, if damaged.