Removal & Installation: Transmission: Installation
- Ensure mating surfaces and locating dowels are clean and free of burrs. Ensure transmission input shaft splines are clean. Place transmission on transmission jack and position under vehicle.
- Raise transmission into position and start input shaft into clutch disc. Align splines on input shaft with splines on clutch disc. Move transmission forward until case seats on locating dowels.
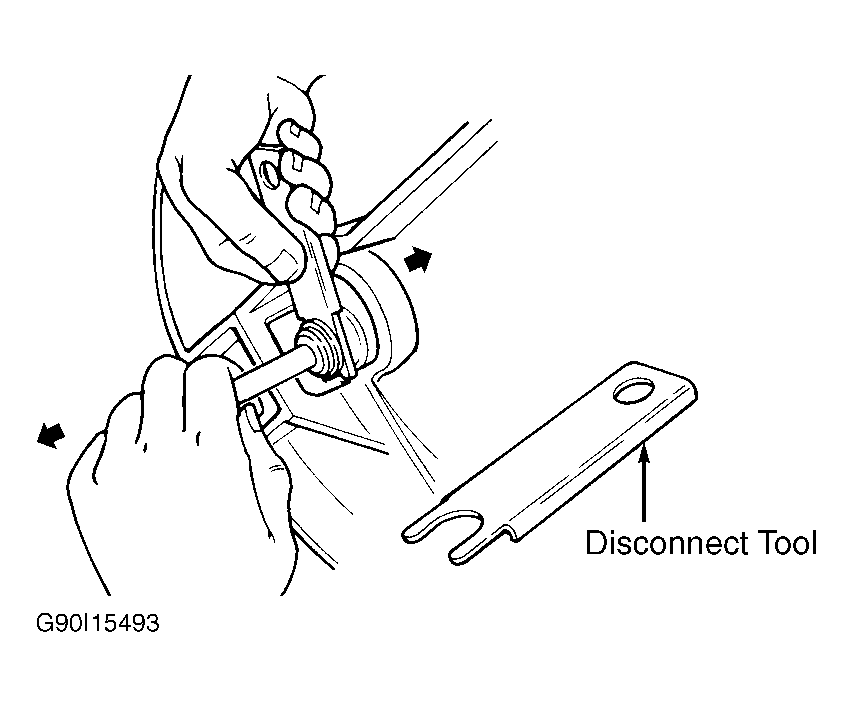
- Install bellhousing-to-engine block bolts. To complete installation, reverse removal procedure. Tighten bolts to specification. See TORQUE SPECIFICATIONS
table. Fill transfer case to bottom of filler hole with Mercon ATF (XT-2-QDX or DDX). Bleed hydraulic clutch system. See HYDRAULIC SYSTEM BLEEDING
under BLEEDING HYDRAULIC SYSTEM.
 Courtesy of FORD MOTOR CO.