Radiator, Engine Cooling: Installation: 2.4L
- Install the cooling fan assembly onto the radiator and tighten the bolts to the proper specification. Refer to SPECIFICATIONS .
 Courtesy of CHRYSLER GROUP, LLC
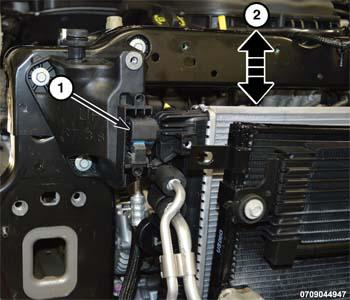
- Push the radiator rearward, engaging the radiator (1) into the upper mount.
 Courtesy of CHRYSLER GROUP, LLC
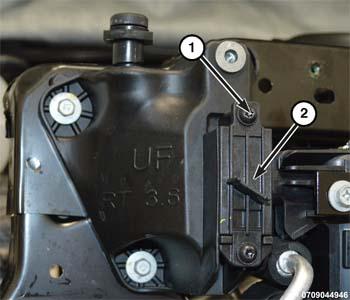
- Install both upper radiator mount covers (2) and tighten the fasteners (1) to the proper specification. Refer to SPECIFICATIONS .
- Install the lower radiator hose
- Install the upper radiator hose.
- Connect the wire harness connector to the cooling fan.
 Courtesy of CHRYSLER GROUP, LLC
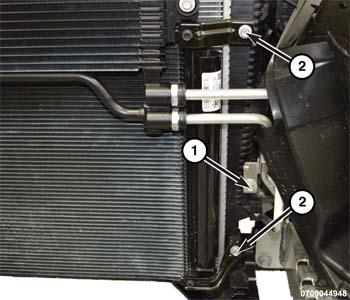
- Install the condenser mounting bracket bolts (2) on both sides of the radiator and tighten the bolts to the proper specification. Refer to SPECIFICATIONS .
- Install the transmission oil cooler mounting bracket and tighten the bolt (1) to the proper specification. Refer to SPECIFICATIONS .
 Courtesy of CHRYSLER GROUP, LLC
- Remove any tape or plugs from A/C line fittings and condenser ports.
- Position the A/C jumper line to the radiator and condenser.
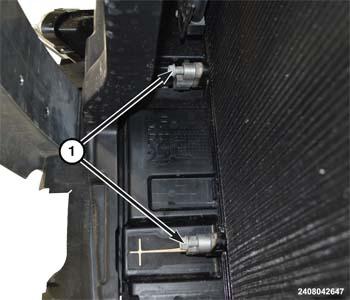
- Install the condenser jumper line bolts (1) to the condenser and tighten the bolts to the proper specification. Refer to SPECIFICATIONS
.
 Courtesy of CHRYSLER GROUP, LLC
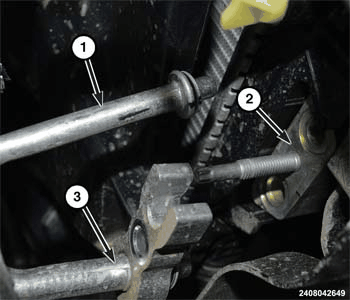
- Connect the A/C liquid (1) and discharge (3) lines to the condenser jumper line manifold (2) and tighten the nut to the proper specification. Refer to SPECIFICATIONS
.
- Install the multipurpose bracket. Refer to BRACKET, MULTIPURPOSE, INSTALLATION
.
- Install the belly pan. Refer to BELLY PAN, INSTALLATION
.
- Fill the cooling system. Refer to STANDARD PROCEDURE .
- Charge the refrigerant system. Refer to STANDARD PROCEDURE
.
- Install the engine cover.