Starter Motor: Removal: 3.8L
- Disconnect negative battery cable. See Fig 1.
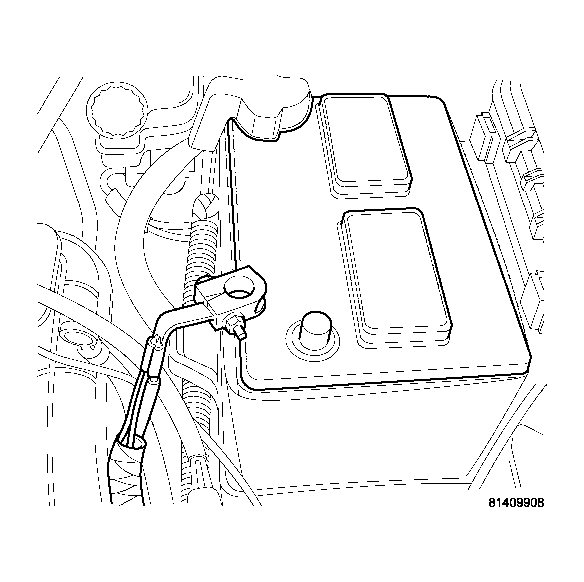 Courtesy of DAIMLERCHRYSLER CORP.
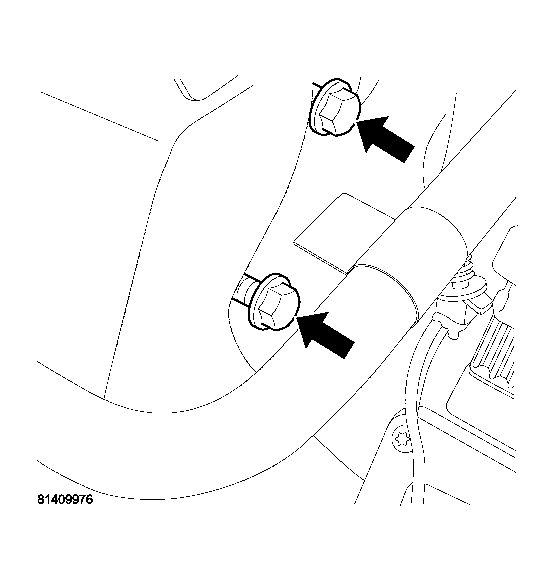
- Remove and relocate the speed control servo. See Fig 2
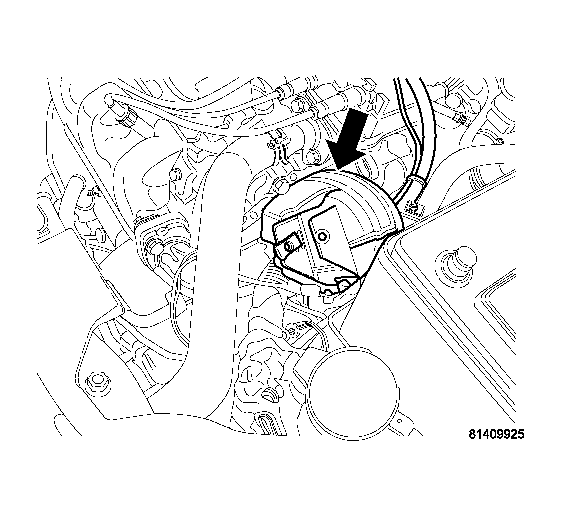 Courtesy of DAIMLERCHRYSLER CORP.
- Unlock the electrical connector and disconnect the vacuum hose from servo.
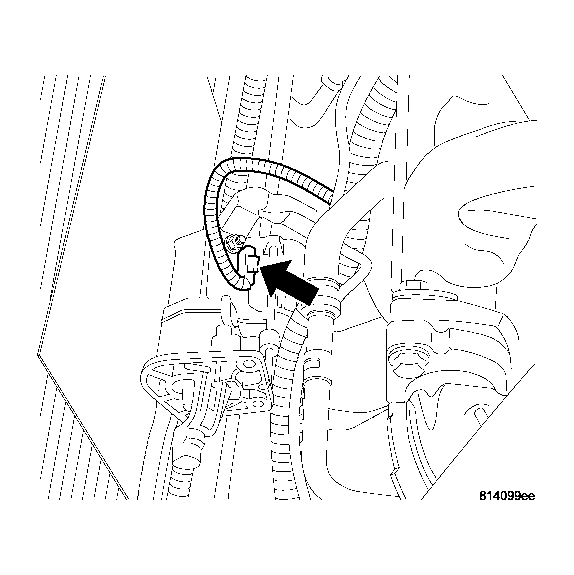
- Unlock and disconnect the electrical connectors from the cooling module. See Fig 3.
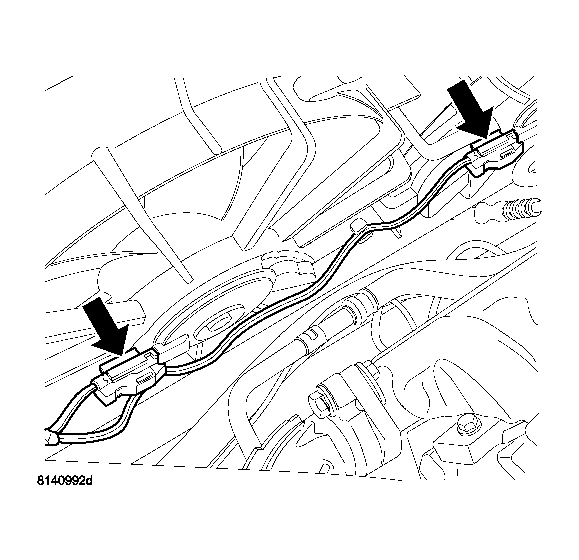 Courtesy of DAIMLERCHRYSLER CORP.
- Disconnect the wiring clips from cooling module.
- Remove the retaining clip from the top of the cooling module. See Fig 4.
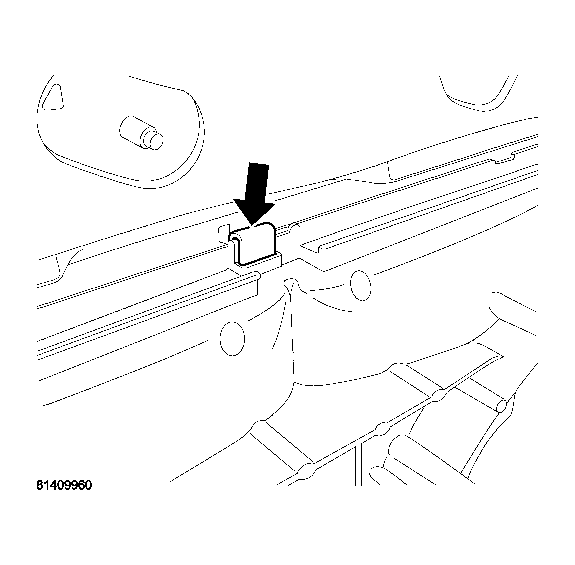 Courtesy of DAIMLERCHRYSLER CORP.
- Remove 2 fasteners and remove fan module from vehicle.
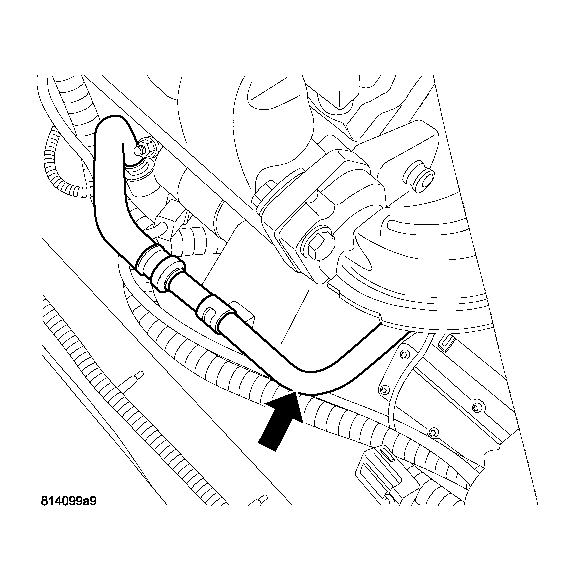
- Remove bolt from oil cooler line bracket in front motor mount. See Fig 5.
 Courtesy of DAIMLERCHRYSLER CORP.
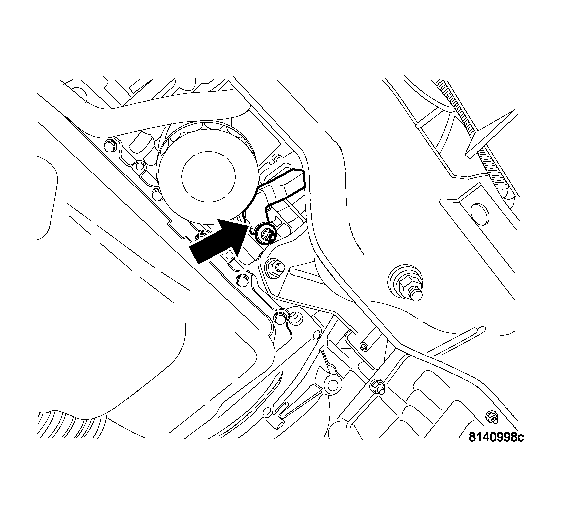
- Remove the battery positive cable from starter motor. See Fig 6.
 Courtesy of DAIMLERCHRYSLER CORP.
- Battery cable removed from starter. See Fig 7.
 Courtesy of DAIMLERCHRYSLER CORP.
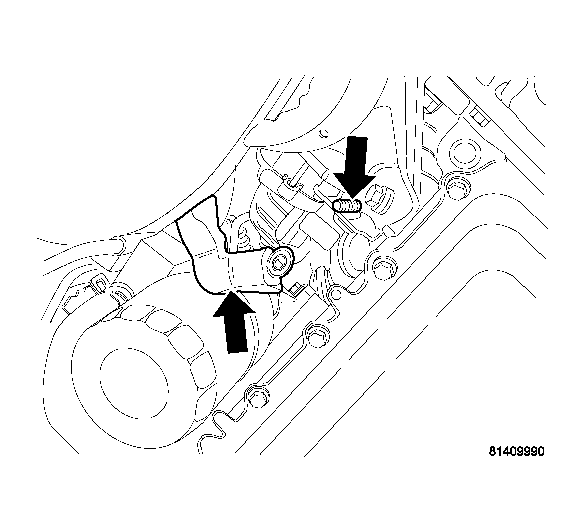
- Remove the lower starter bolt. See Fig 8.
 Courtesy of DAIMLERCHRYSLER CORP.
- Remove the middle starter bolt. See Fig 9.
- Remove the upper starter bolt.
 Courtesy of DAIMLERCHRYSLER CORP.
- Place a piece of cardboard in front radiator core, to keep from damaging the radiator. See Fig 10.
 Courtesy of DAIMLERCHRYSLER CORP.
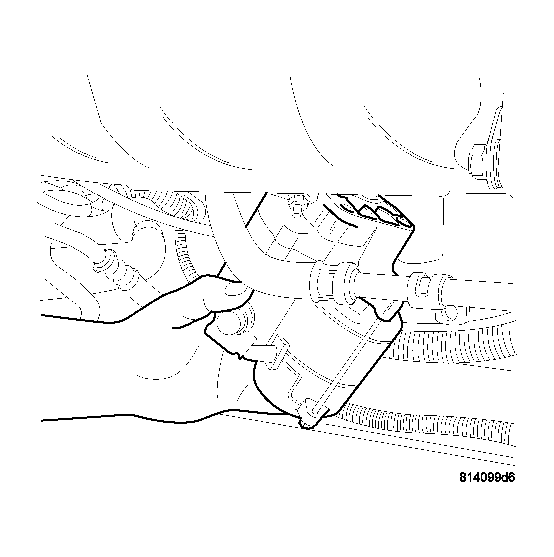
- Remove starter, and disconnect the solenoid wire from starter. See Fig 11.
 Courtesy of DAIMLERCHRYSLER CORP.
 Courtesy of DAIMLERCHRYSLER CORP.
- Remove starter from vehicle. See Fig 12.
- Remove the starter dust shield from vehicle. See Fig 13.
 Courtesy of DAIMLERCHRYSLER CORP.