- Open the rear compartment lid.
WARNING:
If a window is cracked but still intact, crisscross the window with masking tape in order to reduce the risk of damage or personal injury.
NOTE:
Before cutting out a stationary window, apply a double layer of masking tape around the perimeter of the painted surfaces and inner trim.
- Disconnect the rear window defogger electrical connectors.
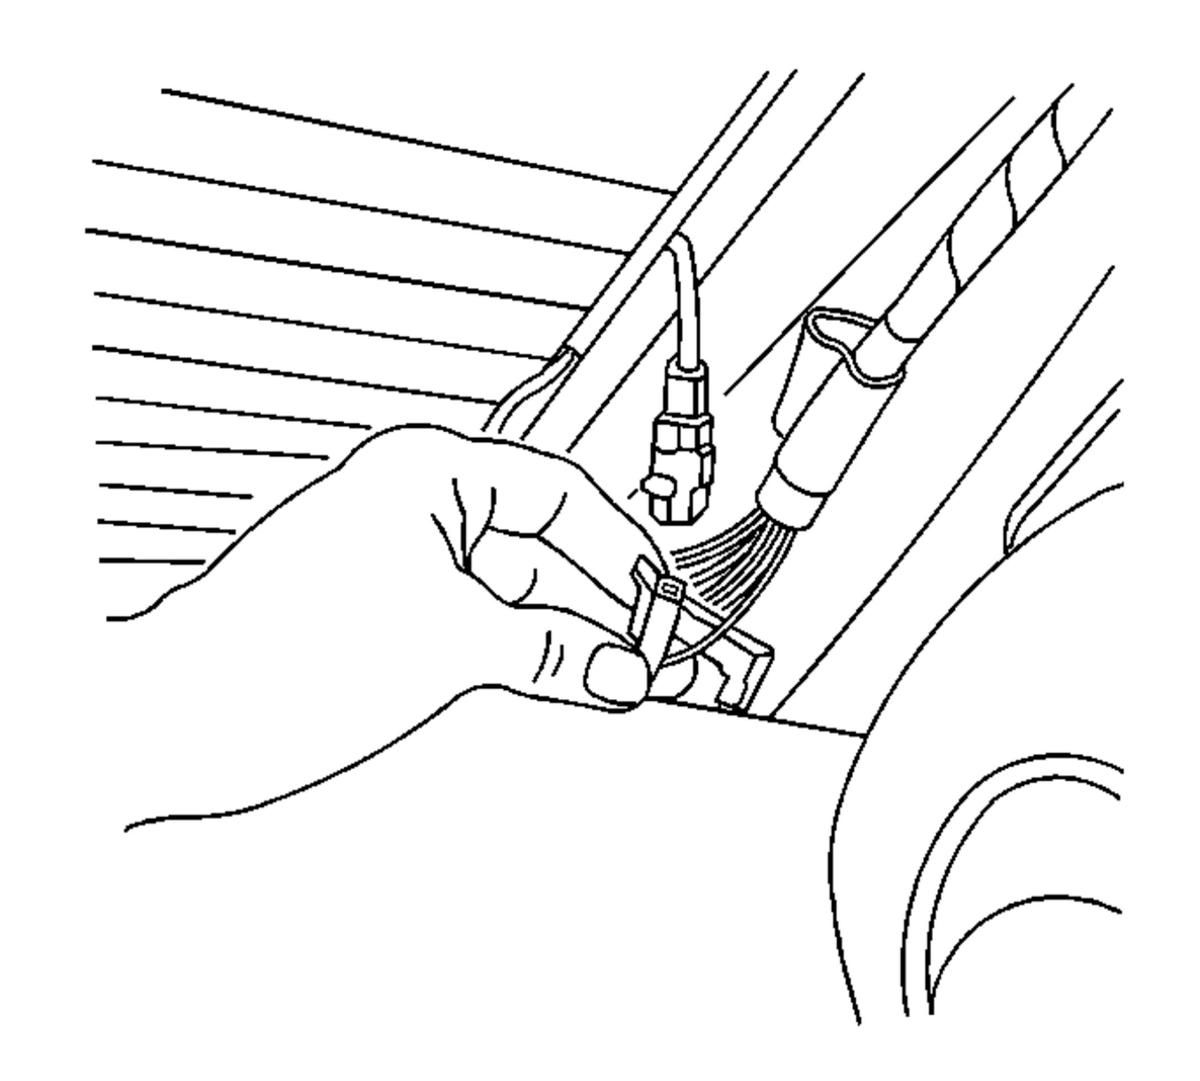 Courtesy of GENERAL MOTORS COMPANY
- Disconnect the OnStar® antenna, if equipped.
- Disconnect the rear window radio antenna connector.
- Cover to protect the following parts from broken glass:
WARNING:
If broken glass falls into the defroster outlets, it can be blown into the passenger compartment and cause personal injury.
- Upper dash pad
- Defroster outlets and A/C outlets
- Seats and carpeting
- This will allow the auto-adhesive to be separated from the window.
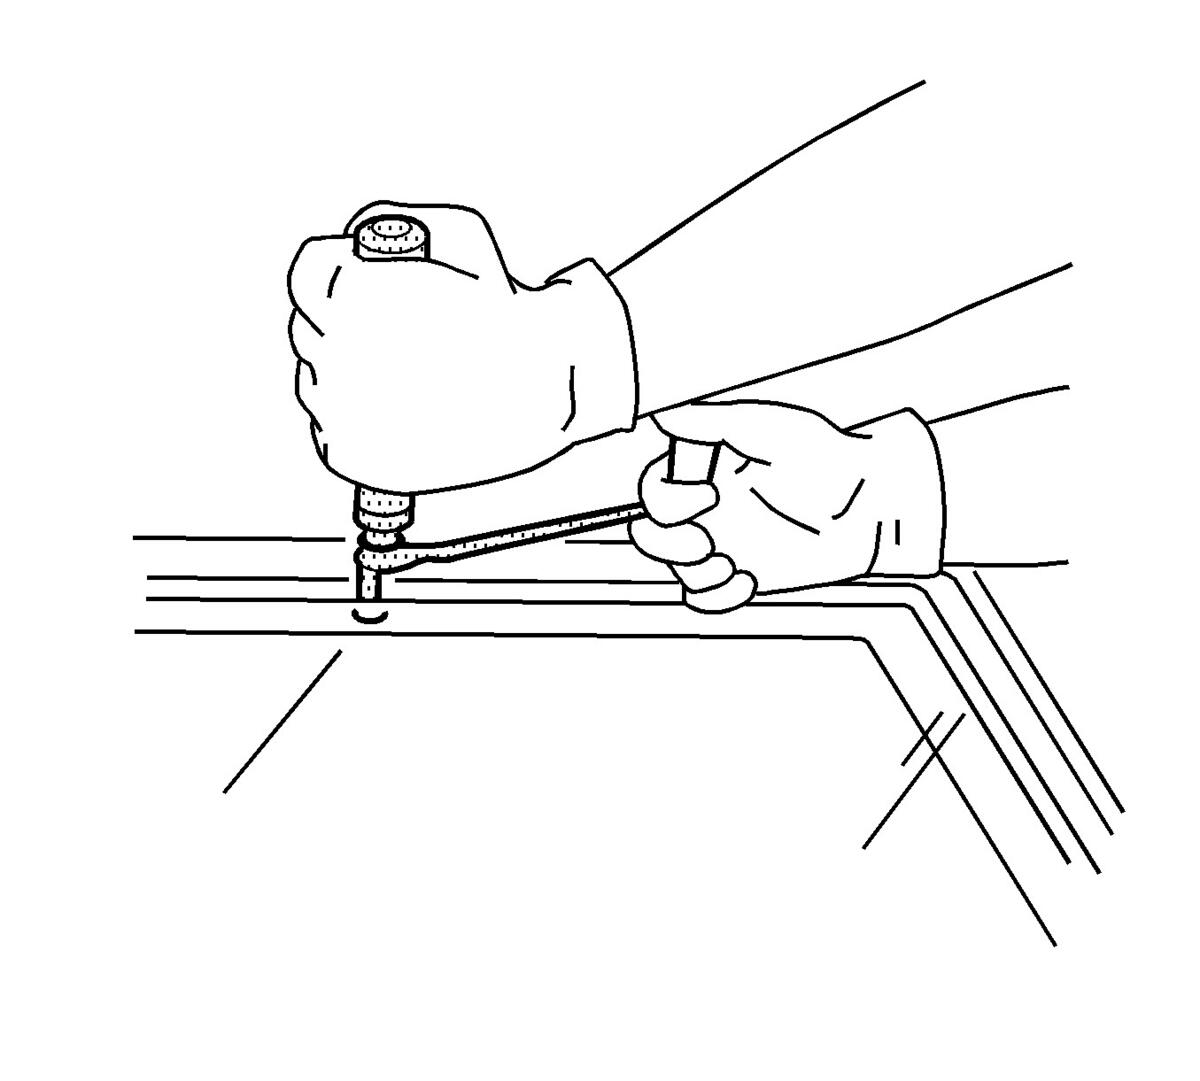 Courtesy of GENERAL MOTORS COMPANY
NOTE:
Keep the cutting edge of the appropriate tool against the window. There are window locating pins, one in each upper corner of the window. Use care Not to remove or cut them off when removing the window. If the window locator pins are cut, it will be necessary to tape the window in place.
- Remove the rear window reveal molding. Refer to Rear Window Reveal Molding Replacement .
- Leave a base of urethane on the pinchweld flange.
- The only suitable lubrication is clear water.
- The only suitable lubrication is clear water.
- BO-24402-A
Glass Sealant Remover (Cold Knife).
- BO-39032
Stationary Glass Removal Tool.
- Use the appropriate tool to remove the bottom of the window from the auto-adhesive. Keep the cutting edge of the tool against the window. Do this from inside the vehicle.
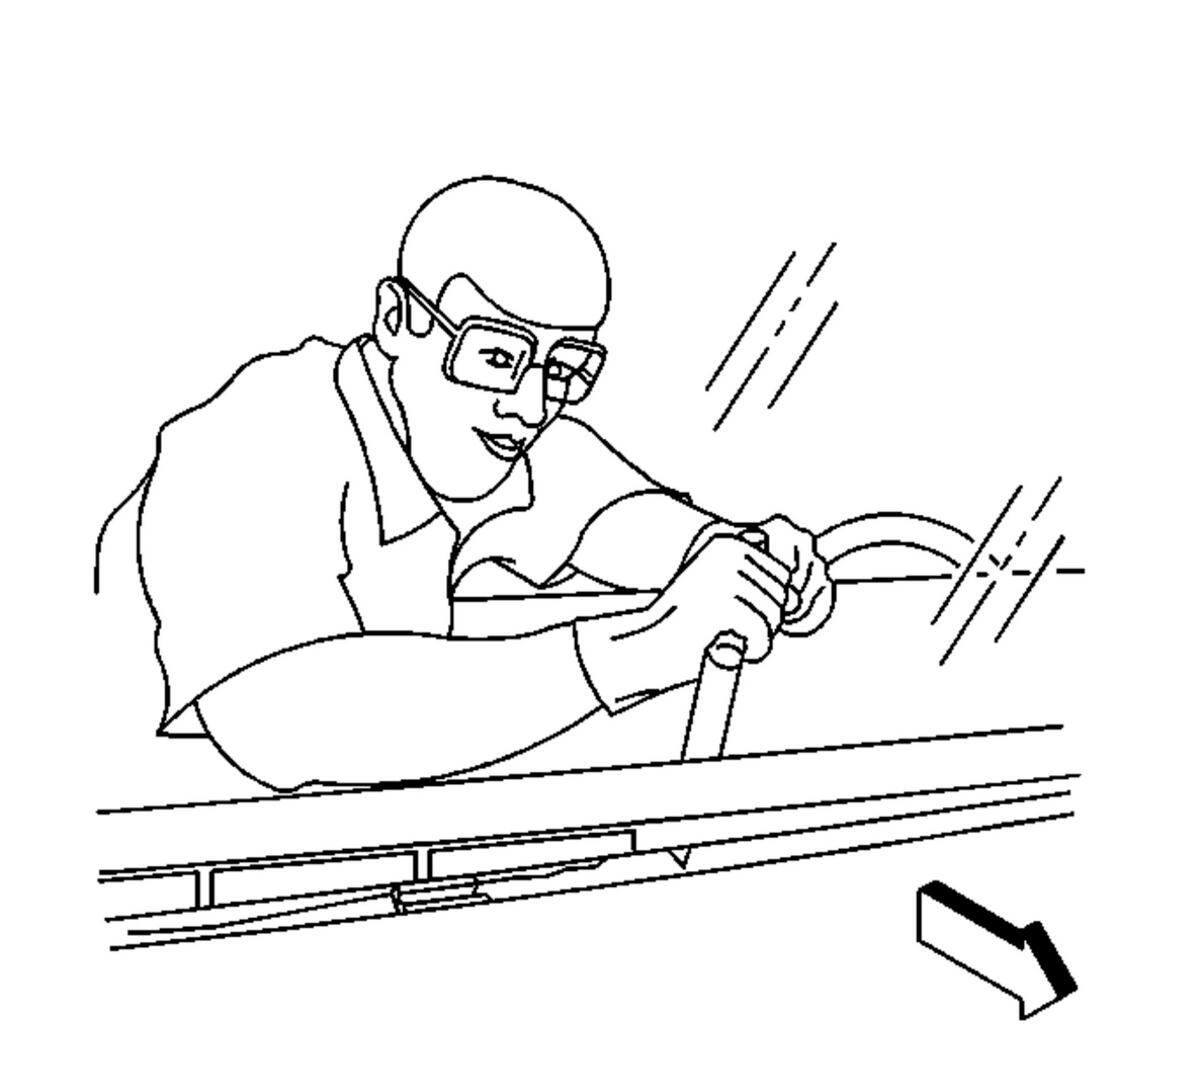 Courtesy of GENERAL MOTORS COMPANY
- With an assistant, remove the window (2) from the vehicle. Check that the retainers (1) are still attached to the window before installing.
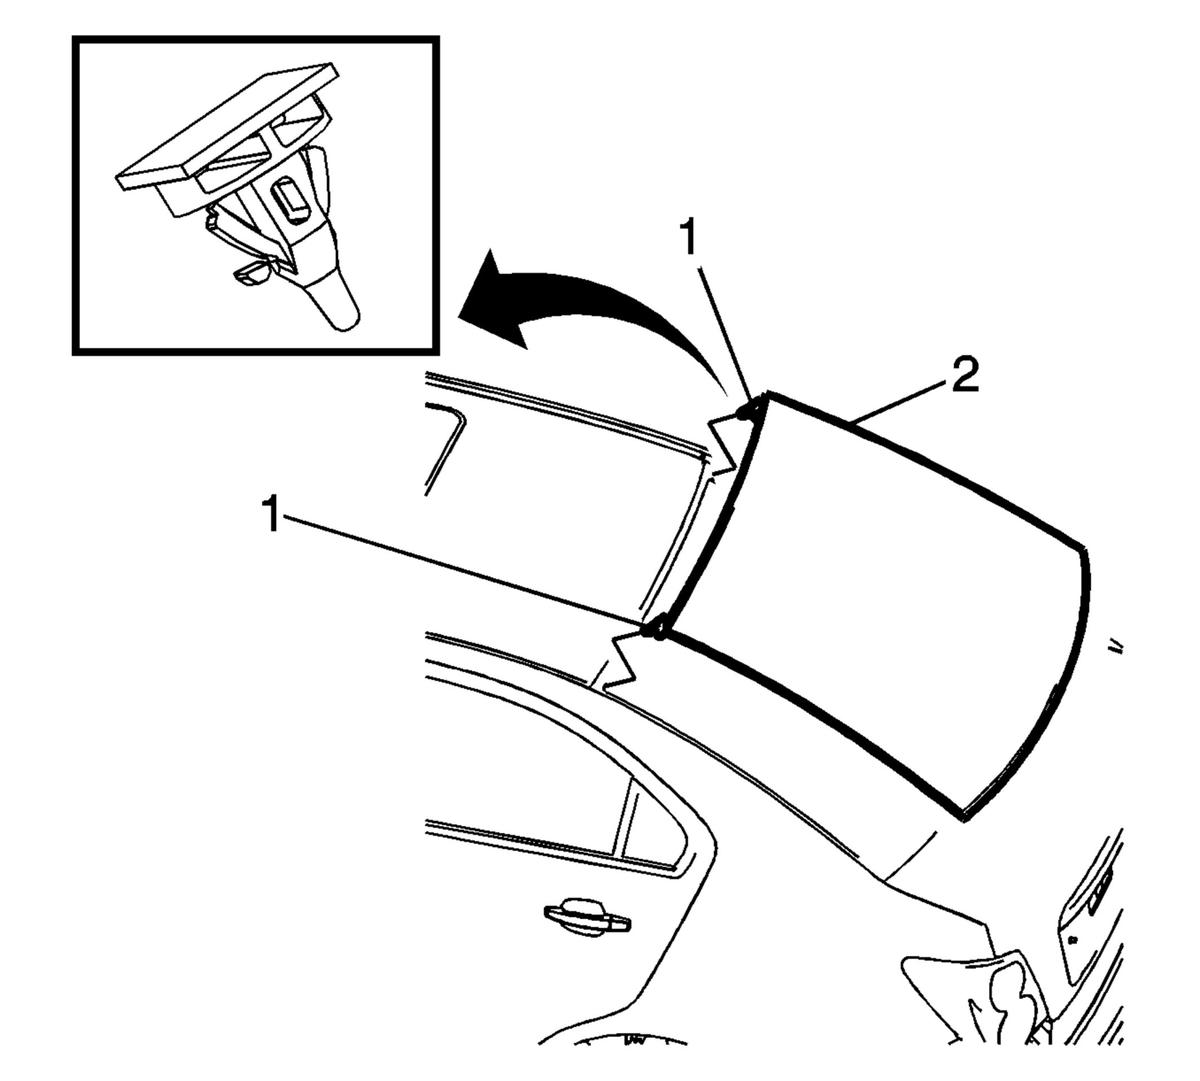 Courtesy of GENERAL MOTORS COMPANY