Steering Linkage Inner Tie Rod Replacement (Left Side)
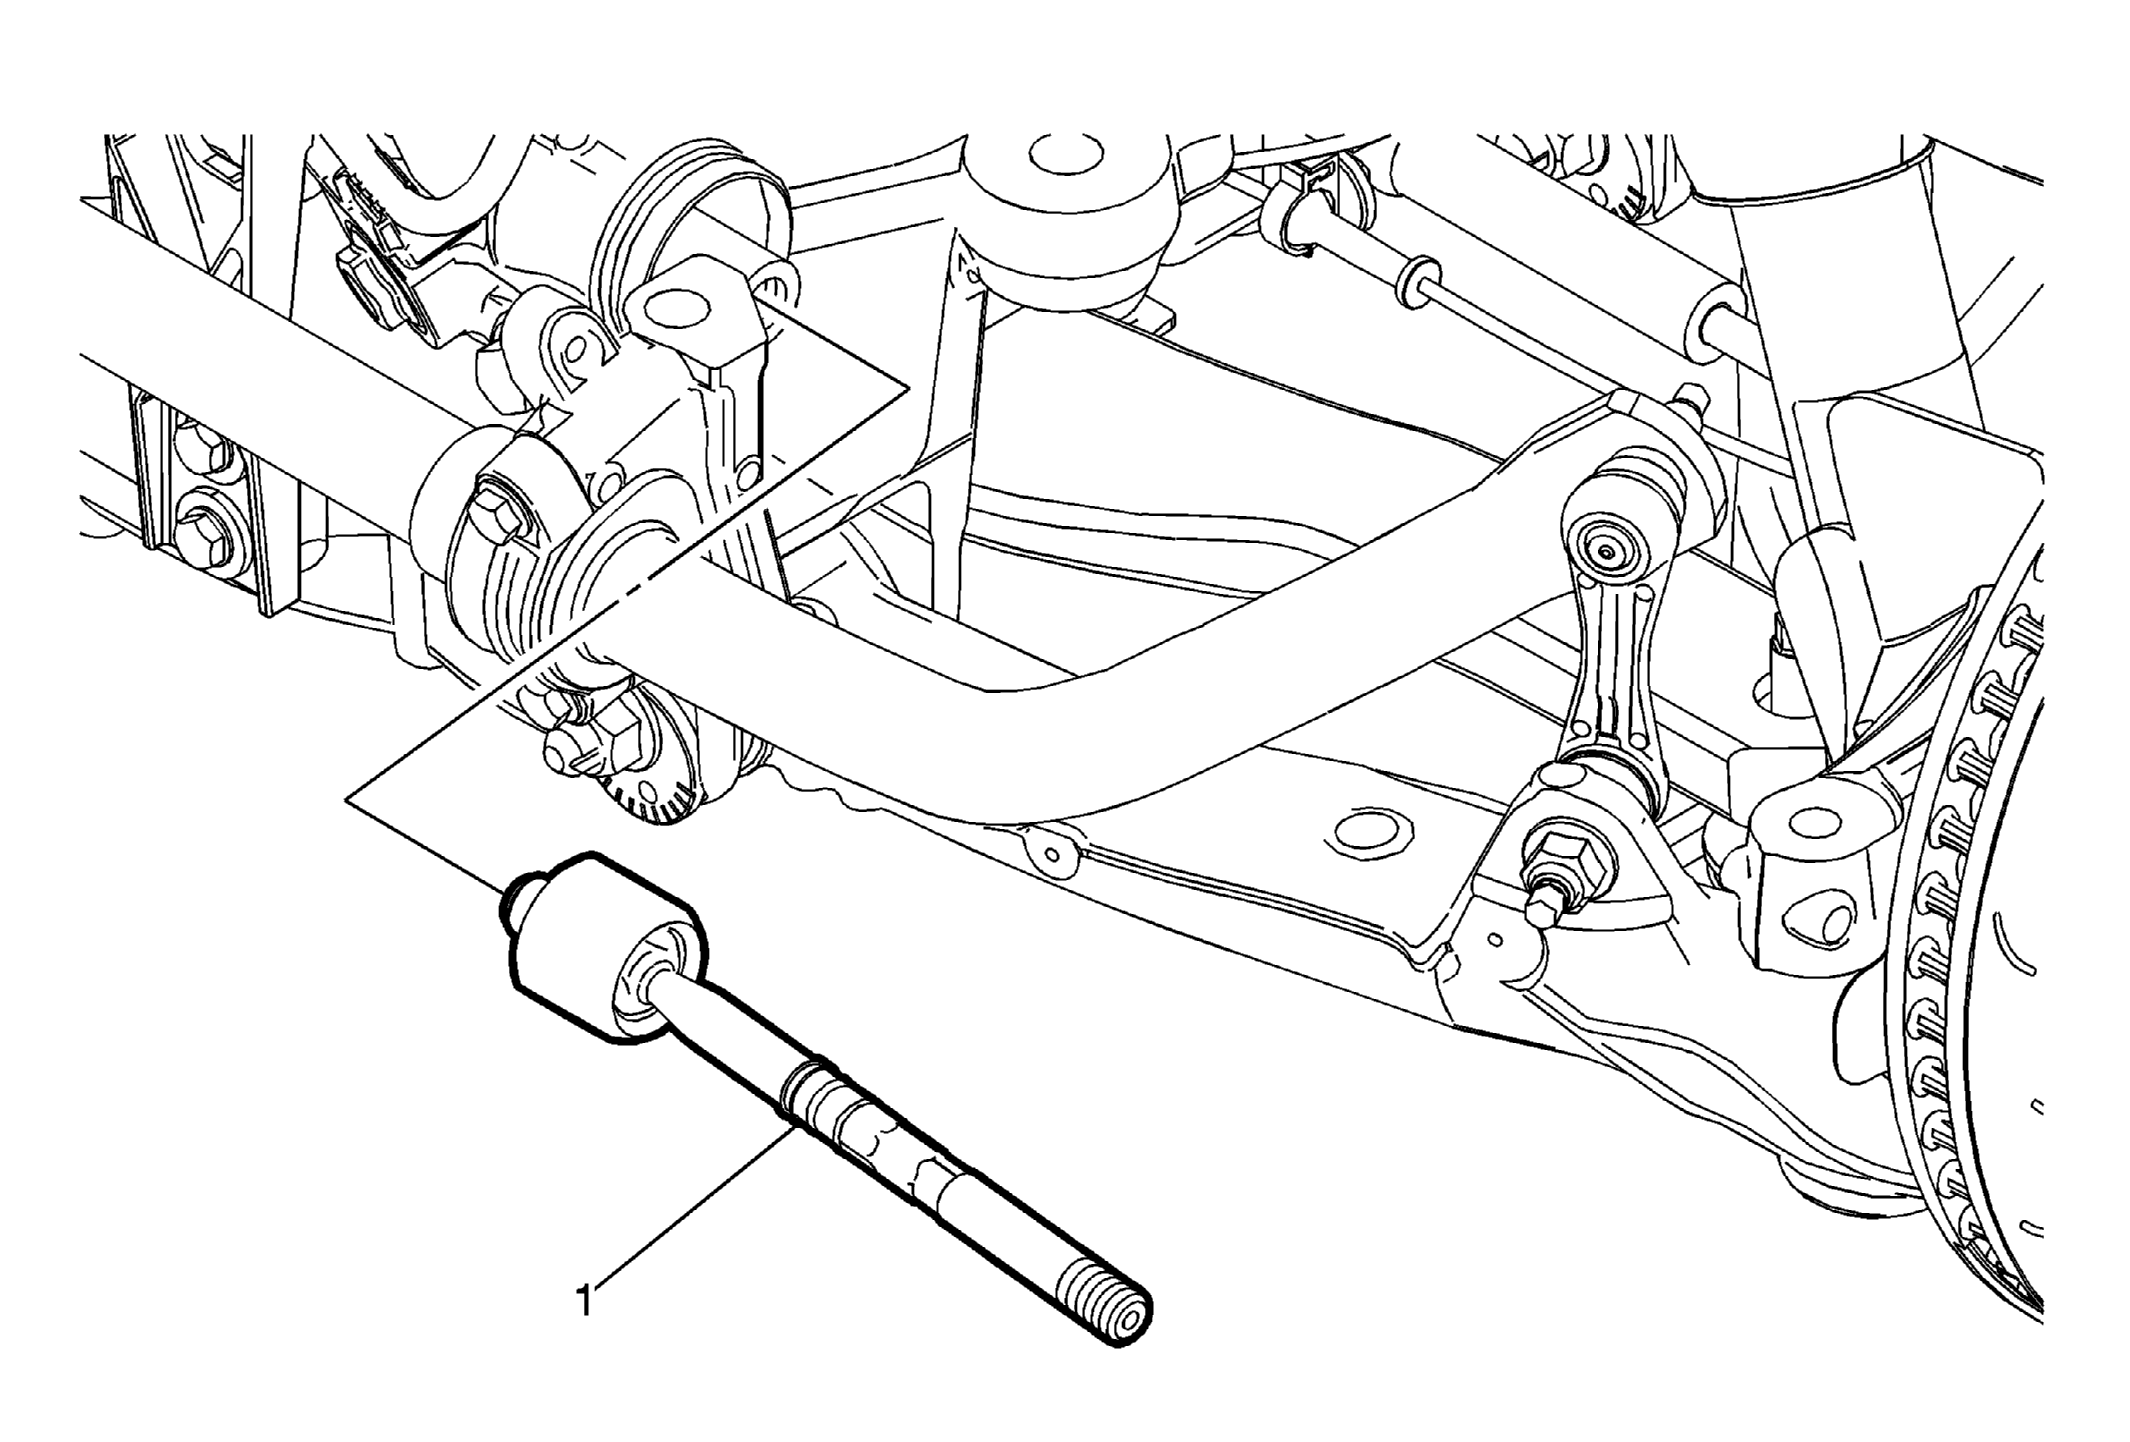 Courtesy of GENERAL MOTORS COMPANY
 Steering Linkage Inner Tie Rod Replacement (Left Side)
| Callout |
Component Name |
|
Preliminary Procedures
- Remove the left side steering gear boot. Refer to Steering Gear Boot Replacement .
- After removing the steering gear boot, inspect the steering linkage inner tie rod for evidence of corrosion or contamination. If none is evident, continue with the repair. If corrosion or contamination is evident, replace the steering gear. Refer to Electric Belt Drive Rack and Pinion Steering Gear Replacement .
|
| 1 |
Steering Linkage Inner Tie Rod - Left Side
Procedure
- Turn the steering wheel to expose the first two inches of steering gear rack on the left side of the gear. Hold the rack with a wrench across the two recesses in the rack sides.
- Use the J-34028
inner tie rod wrench to remove and install the left side inner tie rod.
- After installing the left side inner tie rod, measure and adjust the front toe. Refer to Wheel Alignment - Steering Wheel Angle and/or Front Toe Adjustment
.
Tighten
100 (74 lb ft)
Special Tools
J-34028
Inner Tie Rod Wrench
For equivalent regional tools, refer to Special Tools . |