Removal Procedure
- Remove the air inlet grille panel. Refer to Air Inlet Grille Panel Replacement (Buick)
.
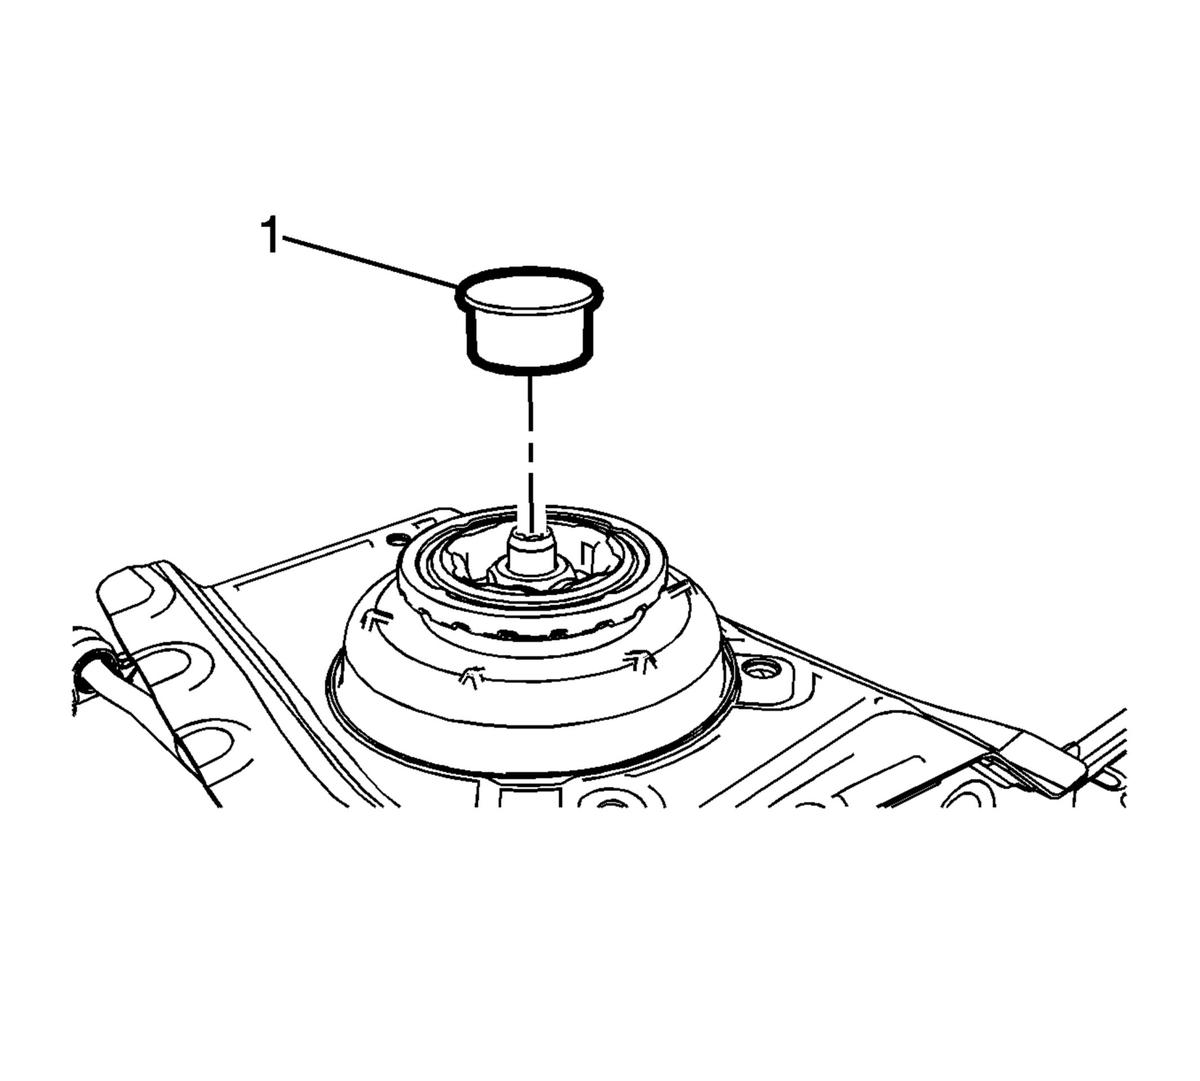 Courtesy of GENERAL MOTORS COMPANY
- Remove the front suspension strut mount plate nut cap (1).
 Courtesy of GENERAL MOTORS COMPANY
- Use the CH-49375
spanner (2) and a suitable tool (1) to loosen the front suspension strut mount plate nut.
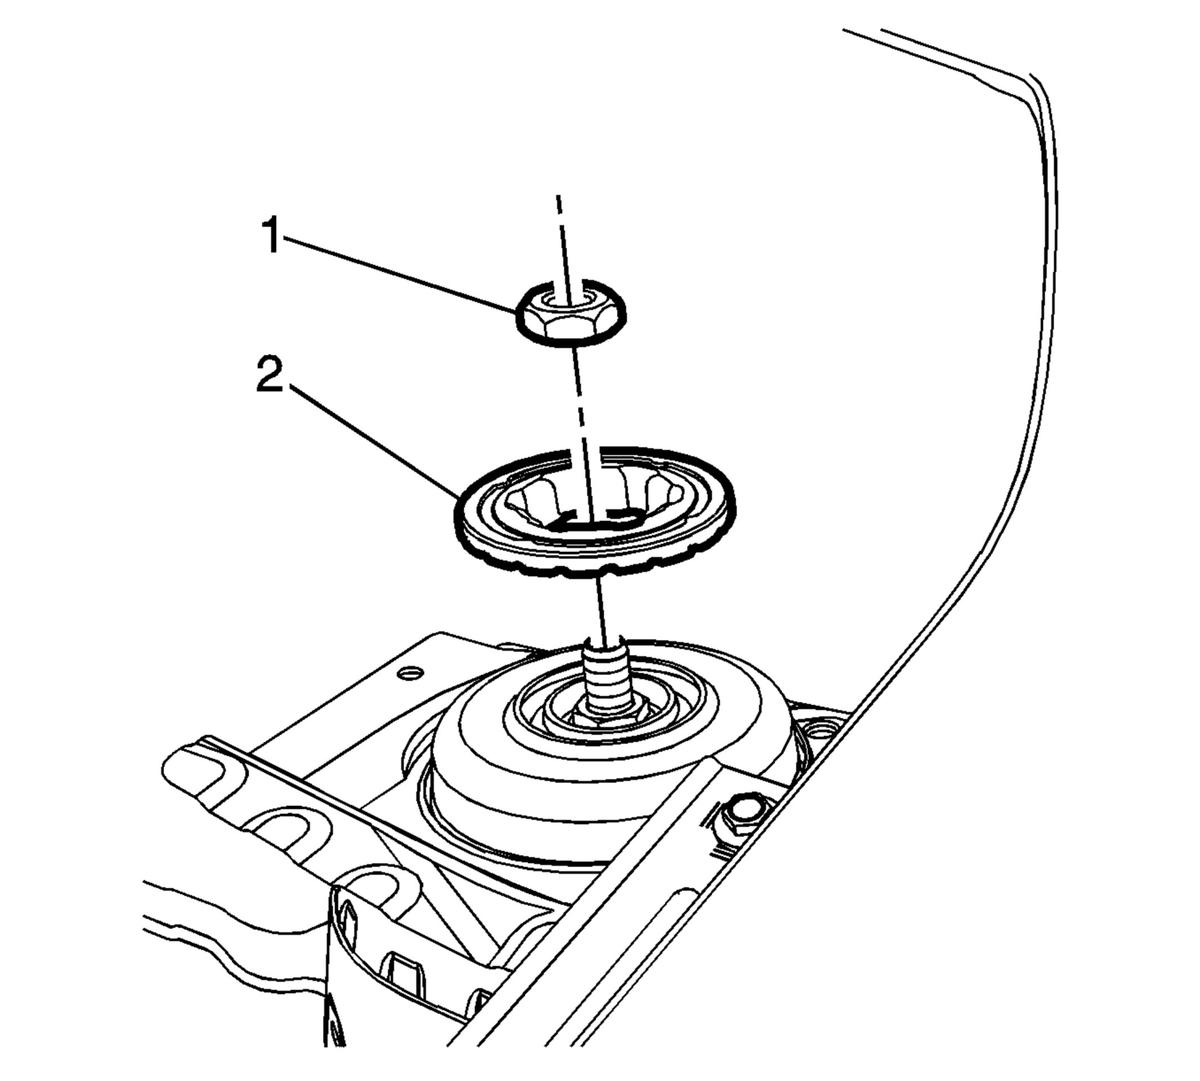 Courtesy of GENERAL MOTORS COMPANY
- Remove the front suspension strut mount plate nut (1) and the front suspension strut mount plate (2).
- Raise and support the vehicle. Refer to Lifting and Jacking the Vehicle
.
- Remove the tire and wheel assembly. Refer to Tire and Wheel Removal and Installation
.
- Remove any harnesses or hoses attached to the strut assembly.
- Disconnect the steering linkage outer tie rod from the steering knuckle. Refer to Steering Linkage Outer Tie Rod Replacement
.
- Disconnect the stabilizer shaft link from the strut assembly. Refer to Stabilizer Shaft Link Replacement .
 Courtesy of GENERAL MOTORS COMPANY
- Remove the front suspension strut nuts (1) and bolts (2).
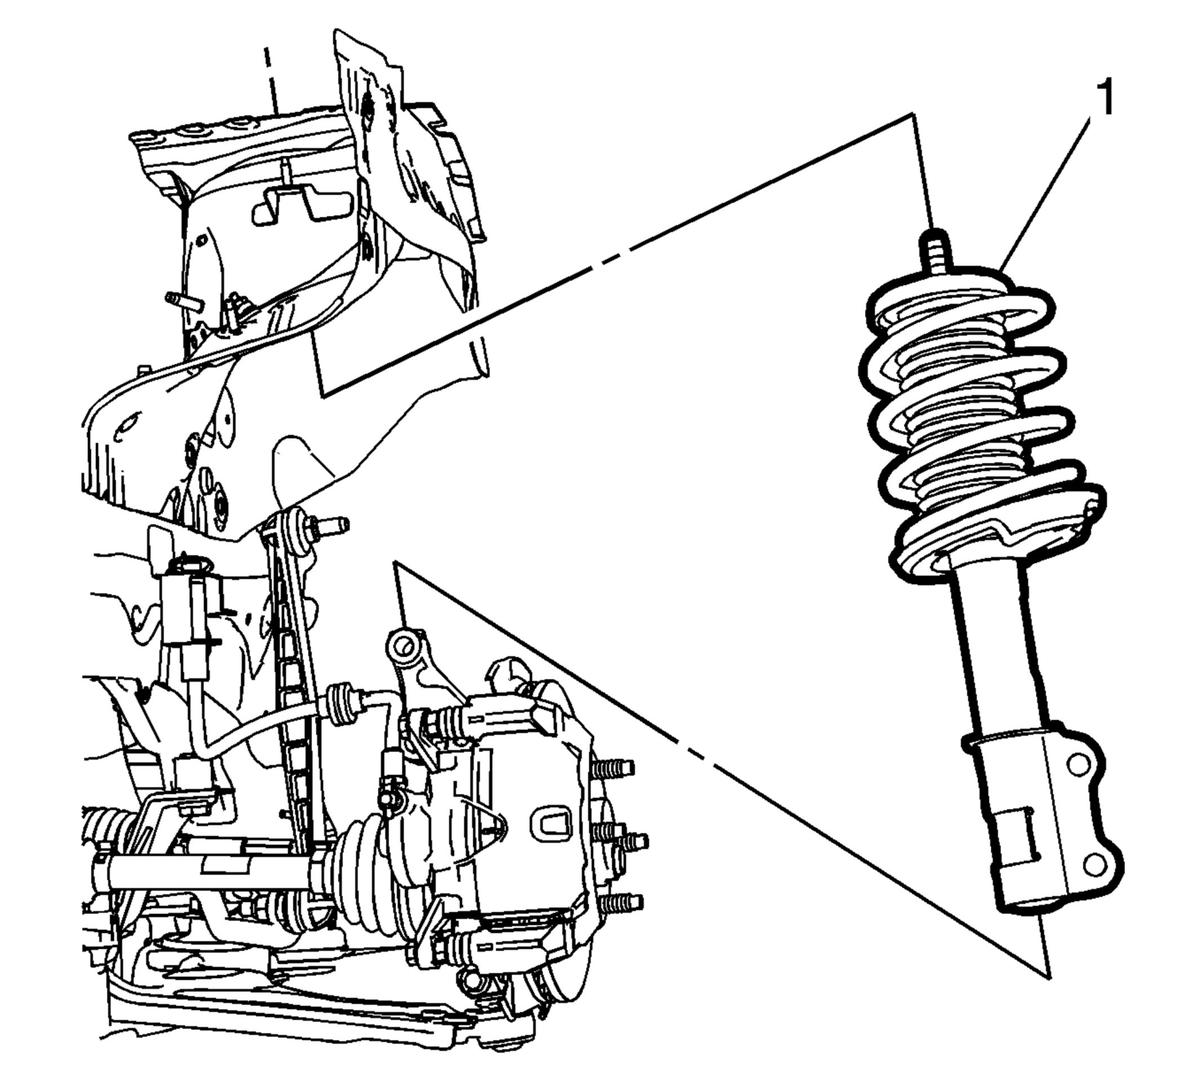 Courtesy of GENERAL MOTORS COMPANY
- Push the lower control arm and steering knuckle downward to disengage the strut assembly and remove the strut assembly (1) from the vehicle.
- If removing the strut assembly to service any of the strut assembly components, refer to Strut, Strut Component, or Spring Replacement .