Removal Procedure
- Recover the refrigerant. Refer to Refrigerant Recovery and Recharging .
 Courtesy of GENERAL MOTORS CORP.
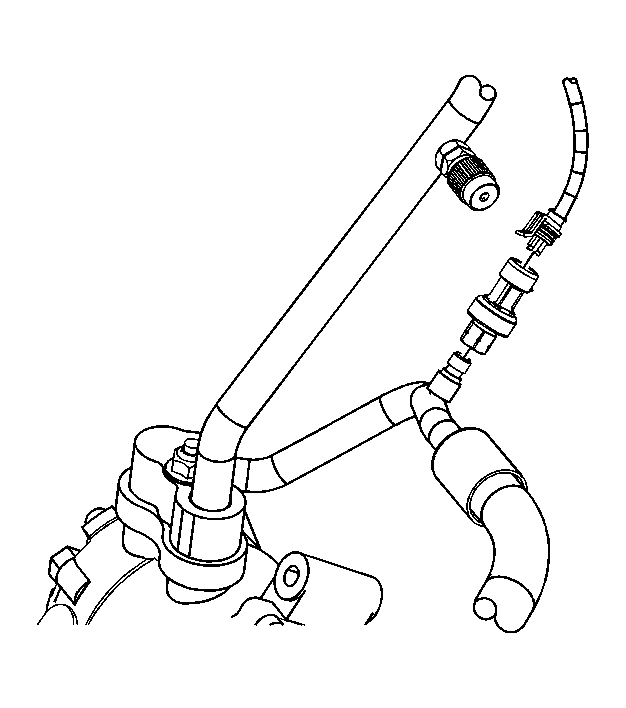
- Disconnect the lower pressure cut out switch from the compressor hose assembly.
 Courtesy of GENERAL MOTORS CORP.
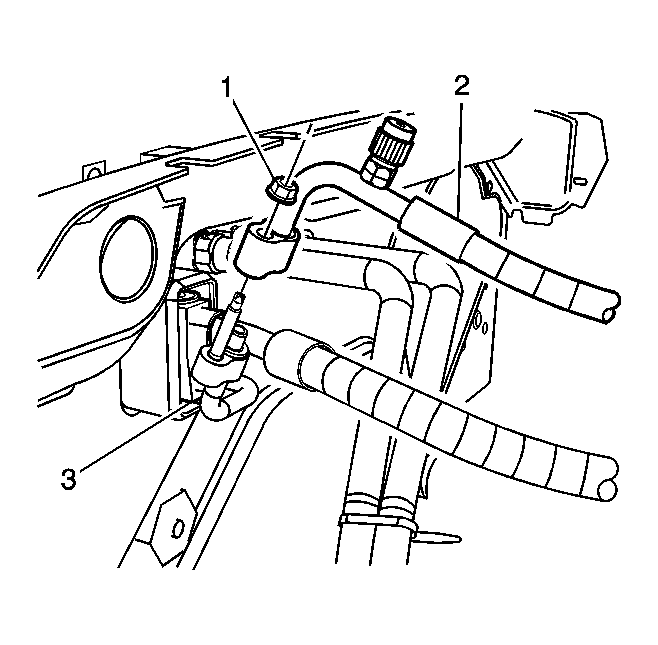
- Disconnect the A/C liquid line (2).
 Courtesy of GENERAL MOTORS CORP.
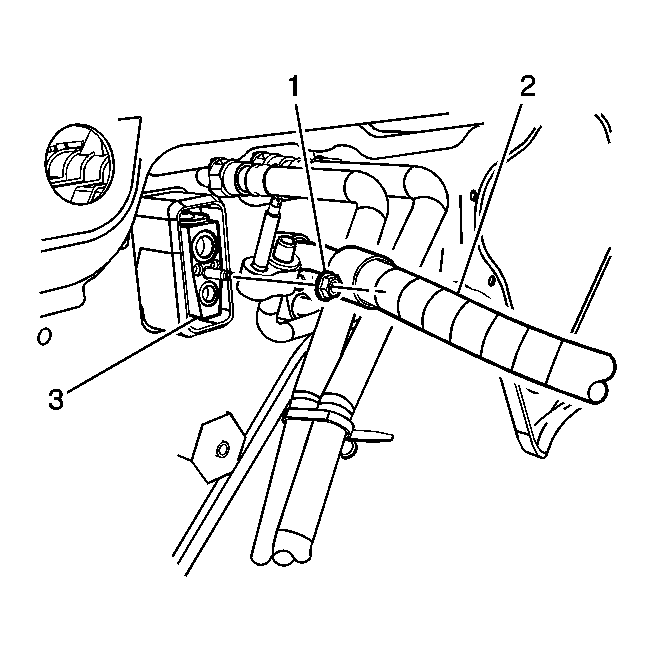
- Remove the retaining nut (1) from the compressor hose (2) at the thermal expansion valve (TXV) (3).
- Remove the compressor hose assembly from the TXV (3).
- Remove the radiator support. Refer to Radiator Support Replacement
.
- Remove the upper radiator outlet tank seal.
 Courtesy of GENERAL MOTORS CORP.
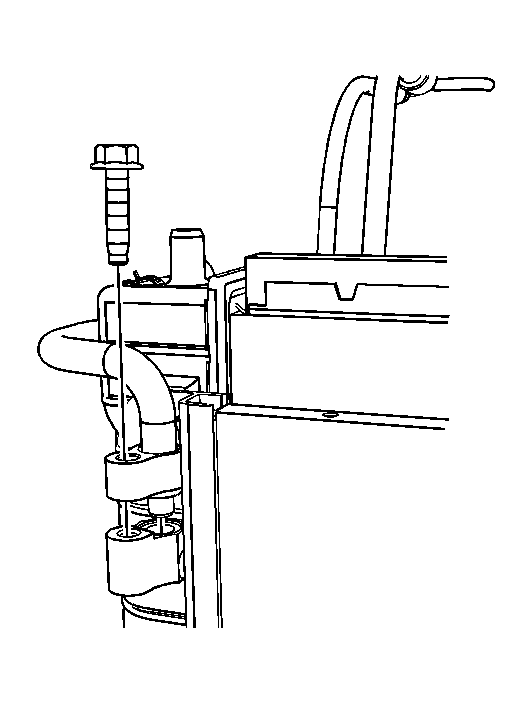
- Remove the retaining bolt from the compressor hose at the condenser.
- Remove the compressor hose from the condenser.
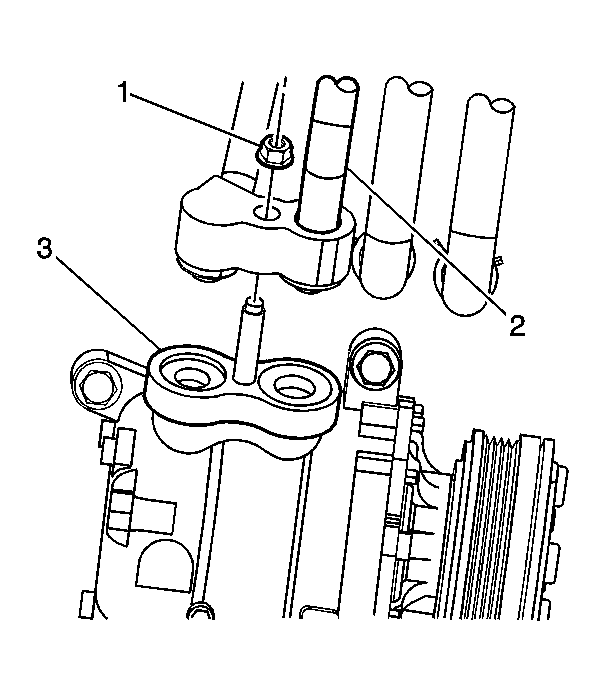 Courtesy of GENERAL MOTORS CORP.
- Remove the compressor hose mounting nut (1) from the A/C compressor (3).
- Remove the compressor hose from the A/C compressor.
- Remove the compressor hose from the vehicle.
- Discard all of the used sealing washers.
- Cap the system openings.