- Raise the vehicle. Refer to Lifting and Jacking the Vehicle
in General information.
- Remove the engine brace mounting bolts.
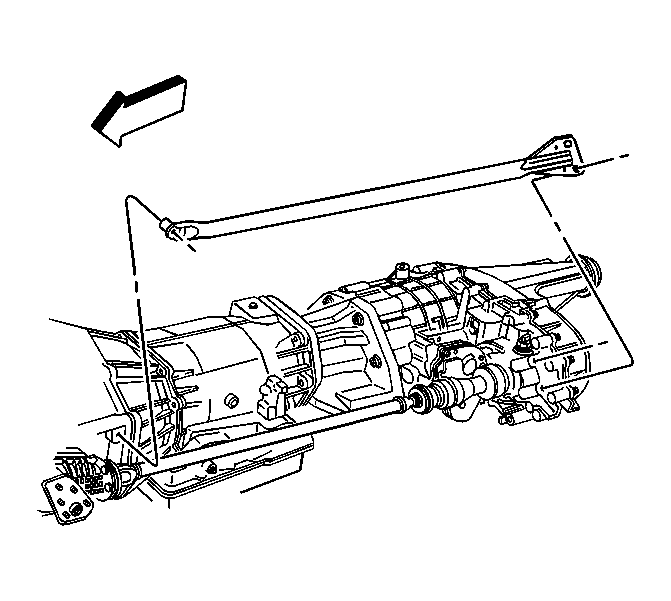 Courtesy of GENERAL MOTORS CORP.
- Remove the engine brace.
- Remove the transfer case shield. Refer to Transfer Case Shield Replacement .
- Remove the rear propeller shaft. Refer to Propeller Shaft Replacement - Rear
in Propeller Shaft.
- Remove the front propeller shaft. Refer to Propeller Shaft Replacement - Front
in Propeller Shaft.
- Remove the motor/encoder electrical connector.
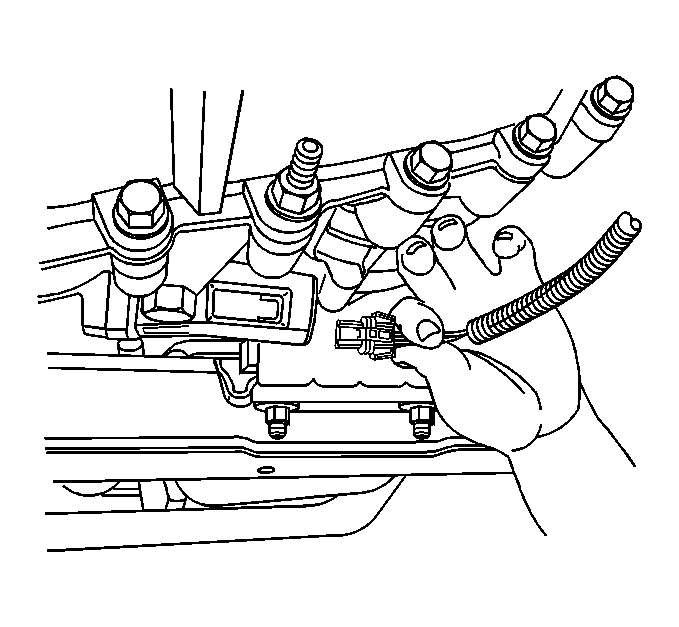 Courtesy of GENERAL MOTORS CORP.
- Remove the transfer case electrical wiring harness.
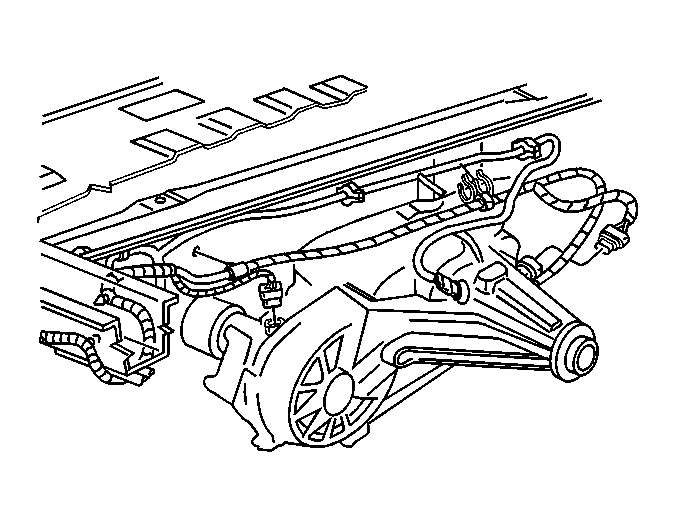 Courtesy of GENERAL MOTORS CORP.
- Remove the transfer case vent hose.
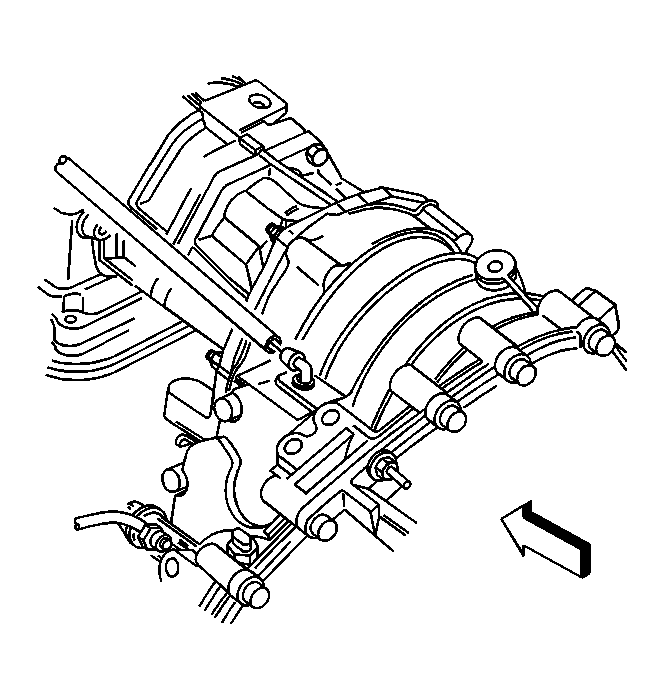 Courtesy of GENERAL MOTORS CORP.
IMPORTANT:
To perform the following service procedure, the transmission mount must be removed to gain access to the bottom retaining nut of the transfer case. Do not support the transmission by the oil pan.
- Support the transmission with a suitable transmission jack.
- Remove the transmission mount retaining nuts.
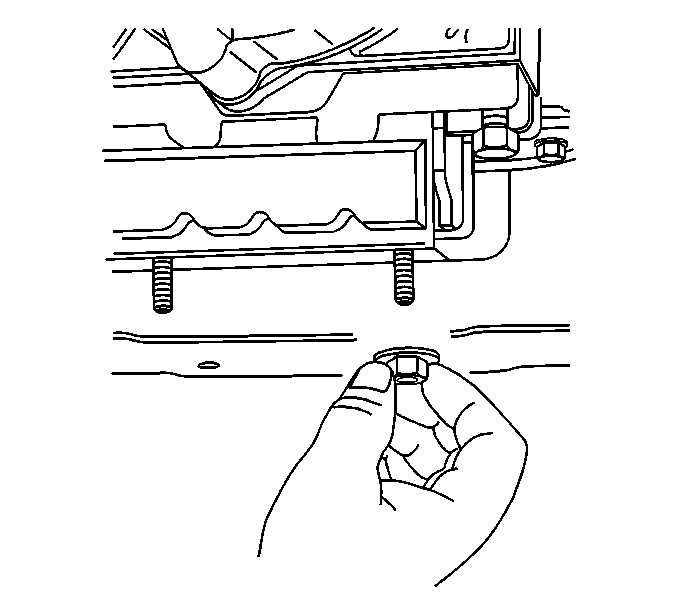 Courtesy of GENERAL MOTORS CORP.
IMPORTANT:
Raise the transmission assembly enough to clear the rear crossmember.
- Remove the transmission mount bolts.
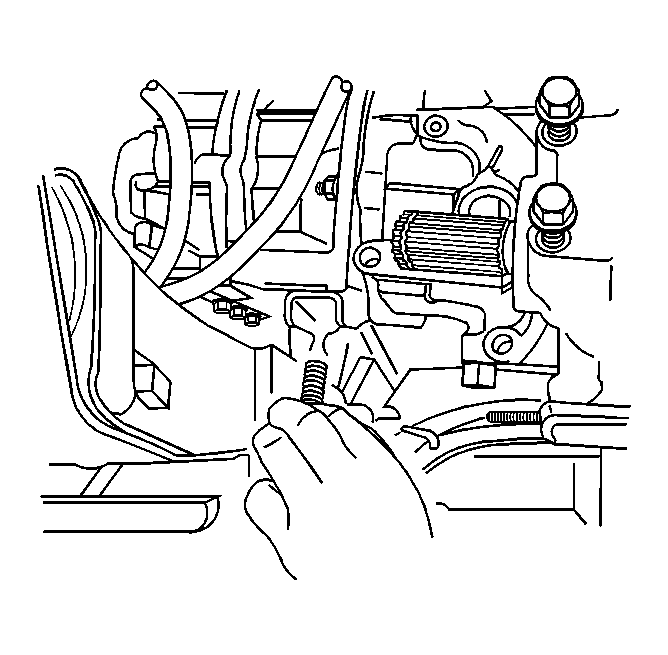 Courtesy of GENERAL MOTORS CORP.
- Remove the transmission mount assembly.
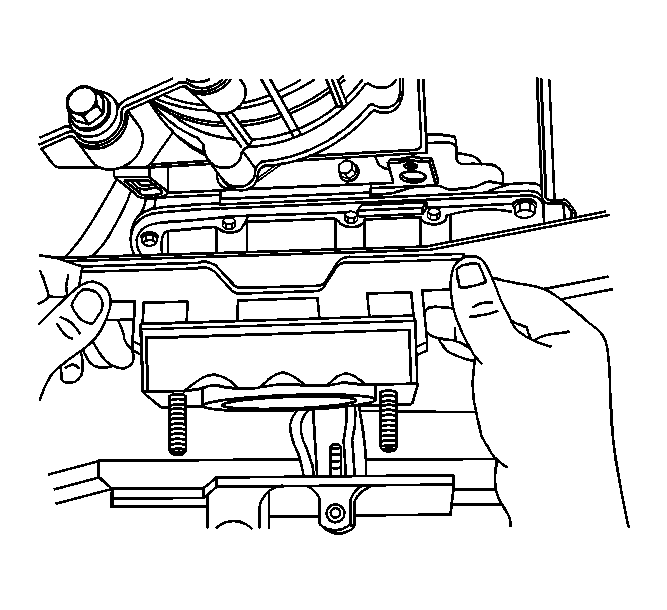 Courtesy of GENERAL MOTORS CORP.
- Remove the transfer case bottom retaining nut.
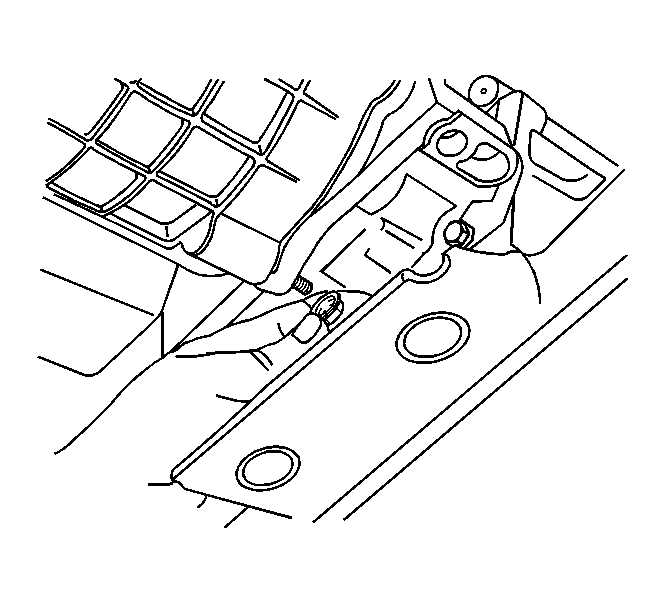 Courtesy of GENERAL MOTORS CORP.
IMPORTANT:
The transmission mount must be replaced in it's original position to support the transmission. When reinstalling the transmission mount, it is not necessary reinstall the mounting nuts and bolts. The weight of the transmission and engine will hold the transmission mount in place until this service procedure is completed.
- Install the transmission mount.
- Remove the transmission jack stand from the transmission.
- Remove the transfer case upper retaining nuts.
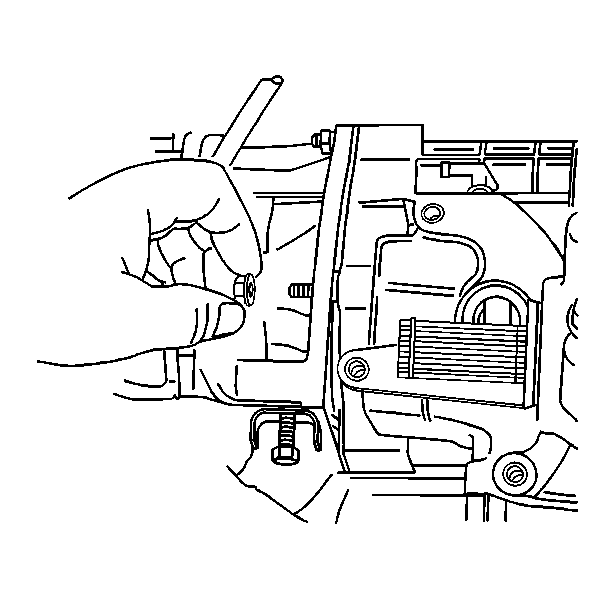 Courtesy of GENERAL MOTORS CORP.
- Install the transmission jack to the transfer case.
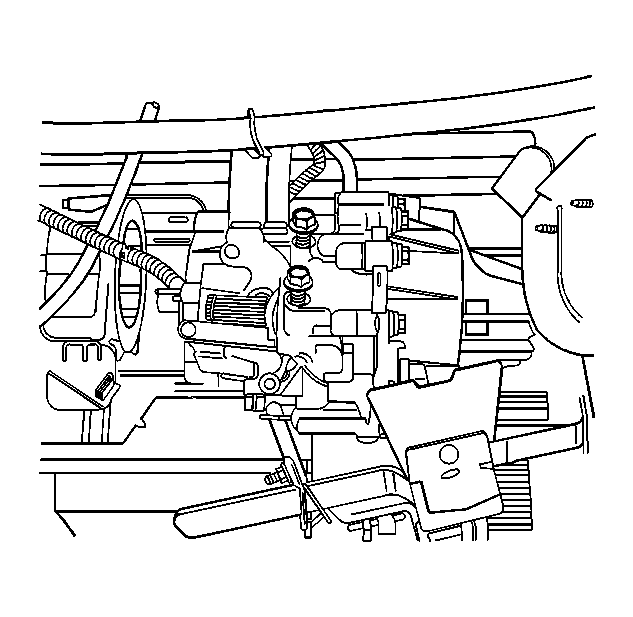 Courtesy of GENERAL MOTORS CORP.
- Remove the transfer case assembly.
IMPORTANT:
DO NOT reuse the old gasket if it is damaged. DO NOT use any type of sealer in place of the gasket.
- Remove the transfer case gasket.
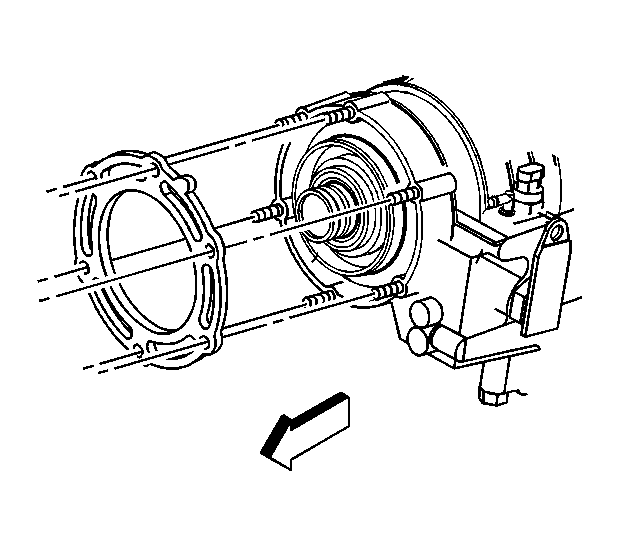 Courtesy of GENERAL MOTORS CORP.