Removal Procedure
- Raise the vehicle. Refer to Lifting and Jacking the Vehicle
in General Information.
- Support the lower control arm with safety stands.
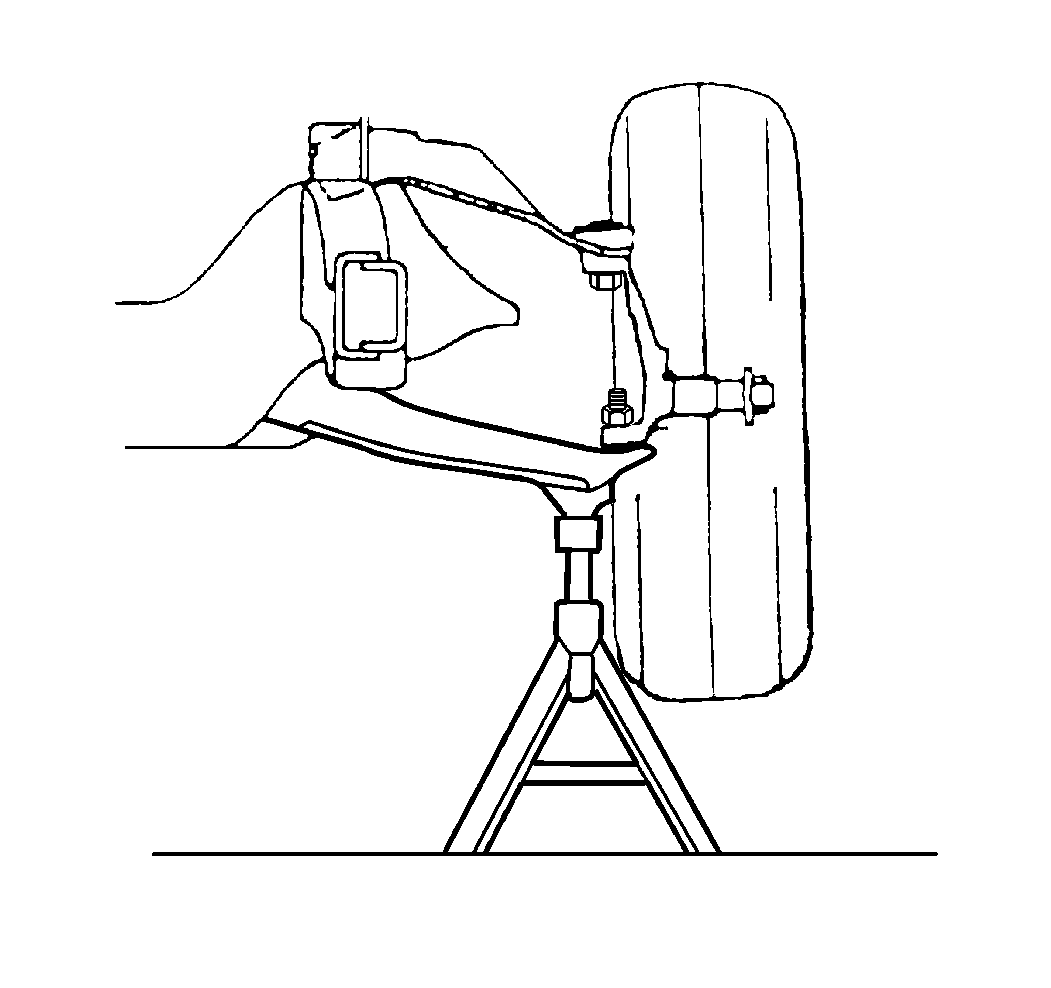 Courtesy of GENERAL MOTORS CORP.
- Remove the tire and wheel. Refer to Tire and Wheel Removal and Installation
in Tires and Wheels.
- Remove the brake hose bracket retaining nut and bolt.
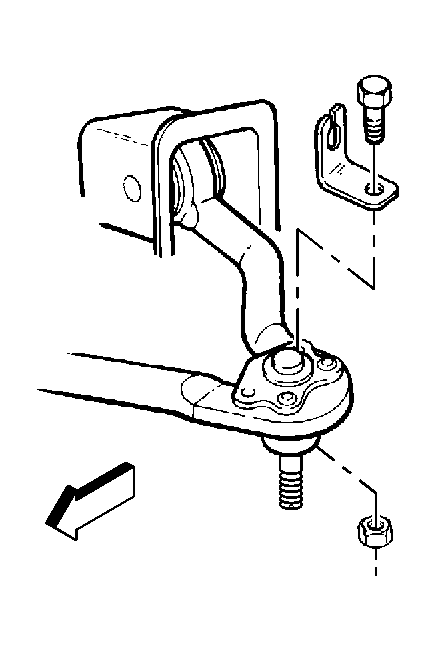 Courtesy of GENERAL MOTORS CORP.
- Remove the speed sensor bracket retaining nut and bolt.
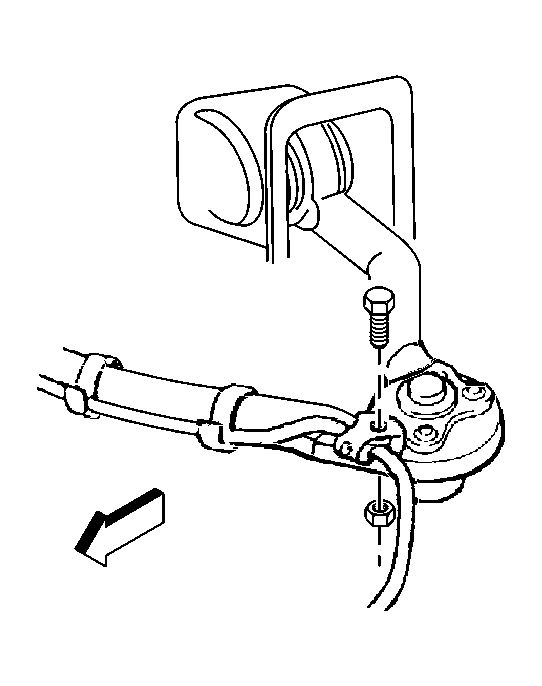 Courtesy of GENERAL MOTORS CORP.
- Remove the upper ball joint cotter pin and retaining nut.
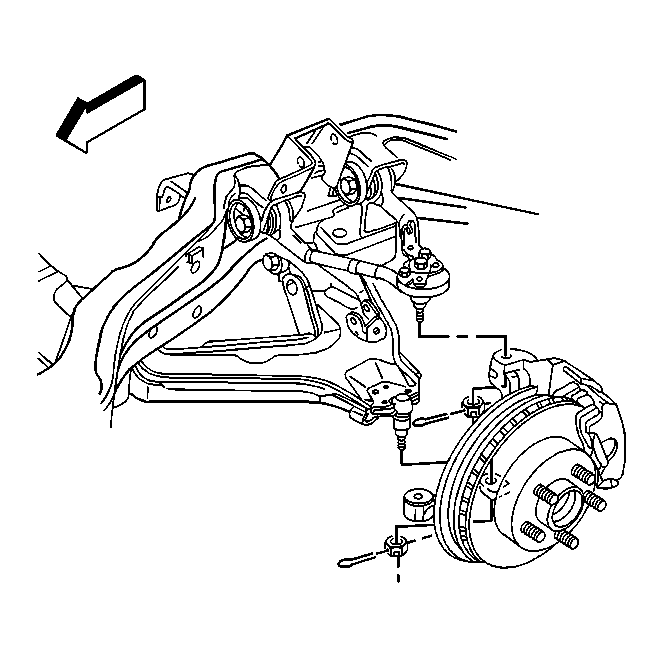 Courtesy of GENERAL MOTORS CORP.
- Install the J 36607
to the upper ball joint and steering knuckle.
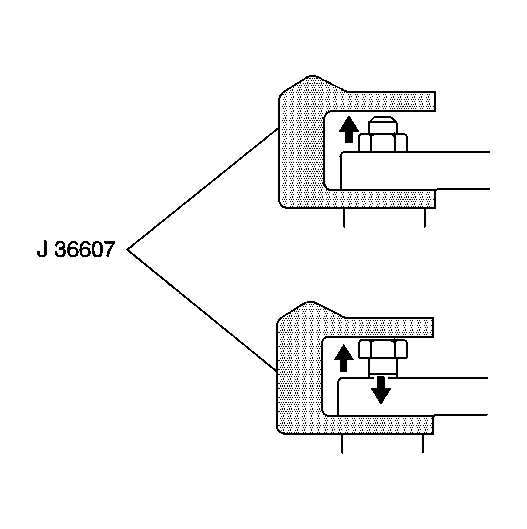 Courtesy of GENERAL MOTORS CORP.
- Disconnect the upper ball joint from the steering knuckle using J 36607
.
- Remove the upper control arm nuts, the cams, and the mounting bolts.
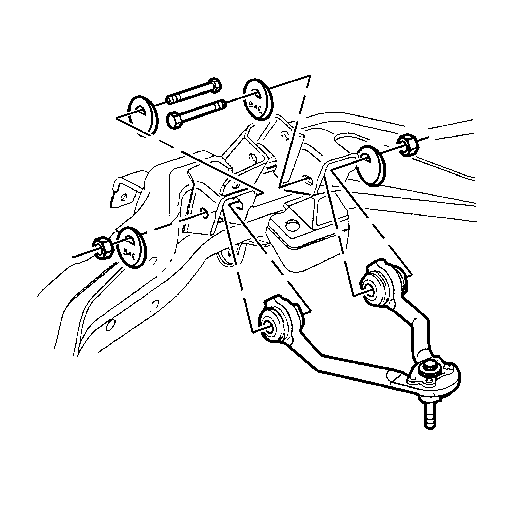 Courtesy of GENERAL MOTORS CORP.
- Remove the upper control arm.