Removal Procedure
- If the seat is equipped with a driver side air bag, disable the SIR system. Refer to SIR Disabling and Enabling Zone 3
in SIR.
- Remove the track covers from the seat adjuster. Refer to Seat Adjuster Track Cover Replacement - Front .
- Position the seat forward and in the full up position.
 Courtesy of GENERAL MOTORS CORP.
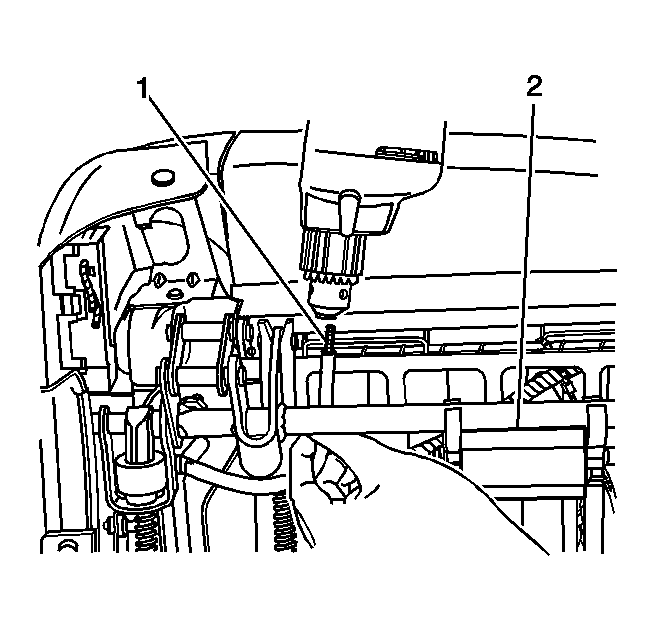
- If the power seat motor is not operable, and the bolts that secure the adjuster to the floor pan are not accessible, perform the following procedure:
- From the front of the seat, disconnect both drive cable housings at the horizontal drive motor (2), which is located at the front of the seat adjuster.
- Attach a drill motor to a drive cable (1).
- Alternately run both sides of the adjuster forward until the rear seat bolts are accessible.
 Courtesy of GENERAL MOTORS CORP.
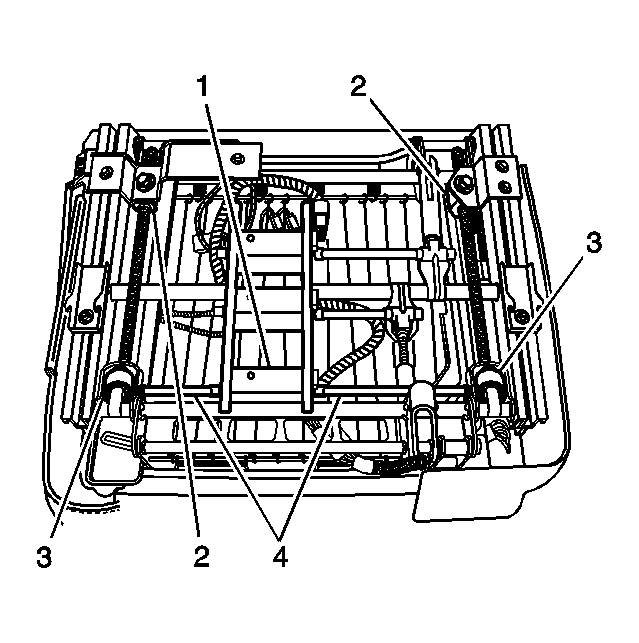
- If you are reusing the seat adjuster, reset the adjuster to make the 2 horizontal drive screws the same length between the drive bracket (3) and the anchor bracket (2).
- Attach the cable housings (4) to the motor and straighten the housings between the motor (1) and the drive brackets (3).
 Courtesy of GENERAL MOTORS CORP.
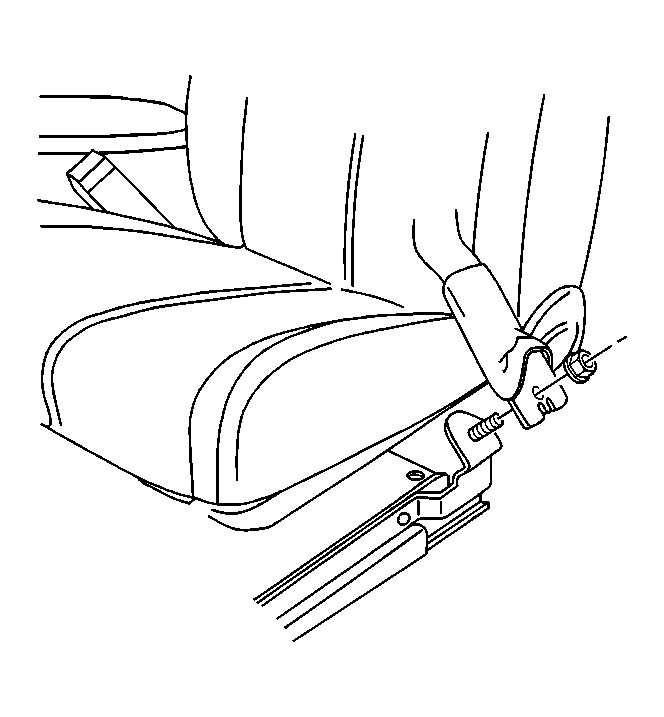
- Remove the seat belt nut from the door side of the seat.
- Remove the head restraint. Refer to Head Restraint Replacement - Front Seat .
 Courtesy of GENERAL MOTORS CORP.
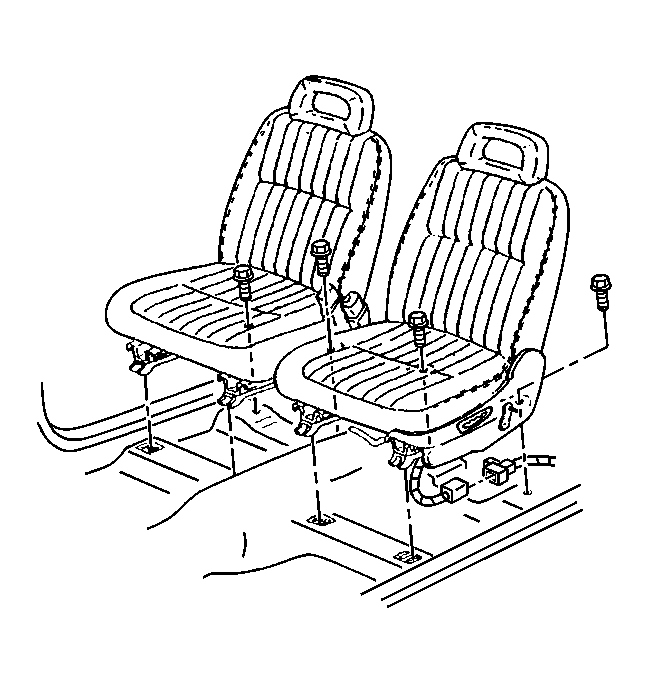
- Remove the bolts which secure the seat adjuster to the floor pan at the rear of the seat.
- Disengage the seat hook attachments from the floor pan.
- Tip the seat forward and disconnect the following connectors, if equipped:
- The power seat electrical connector
- The electrical seat heater connector
- The driver side air bag electrical connector
- Remove the front bucket seat.