Removal Procedure
- Remove the passenger side front floor kick up panel cover to access the instrument panel (IP) electrical center.
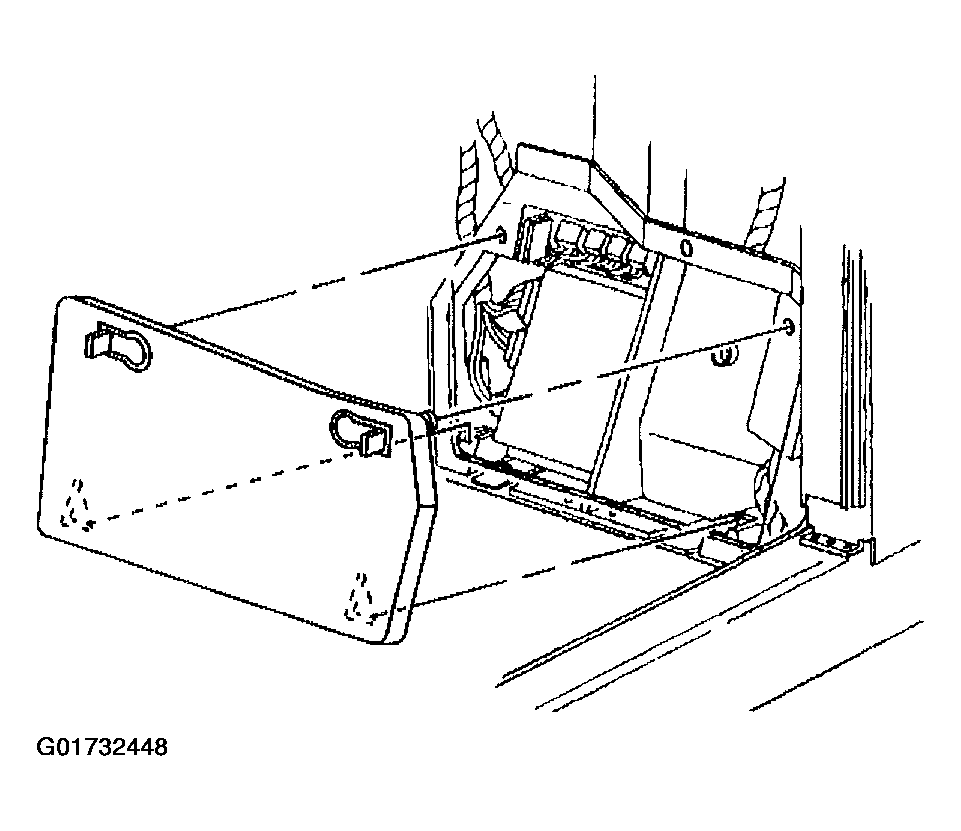 Courtesy of GENERAL MOTORS CORP.
- Remove the headlamp circuit breaker from the IP electrical center.
- Open the hood.
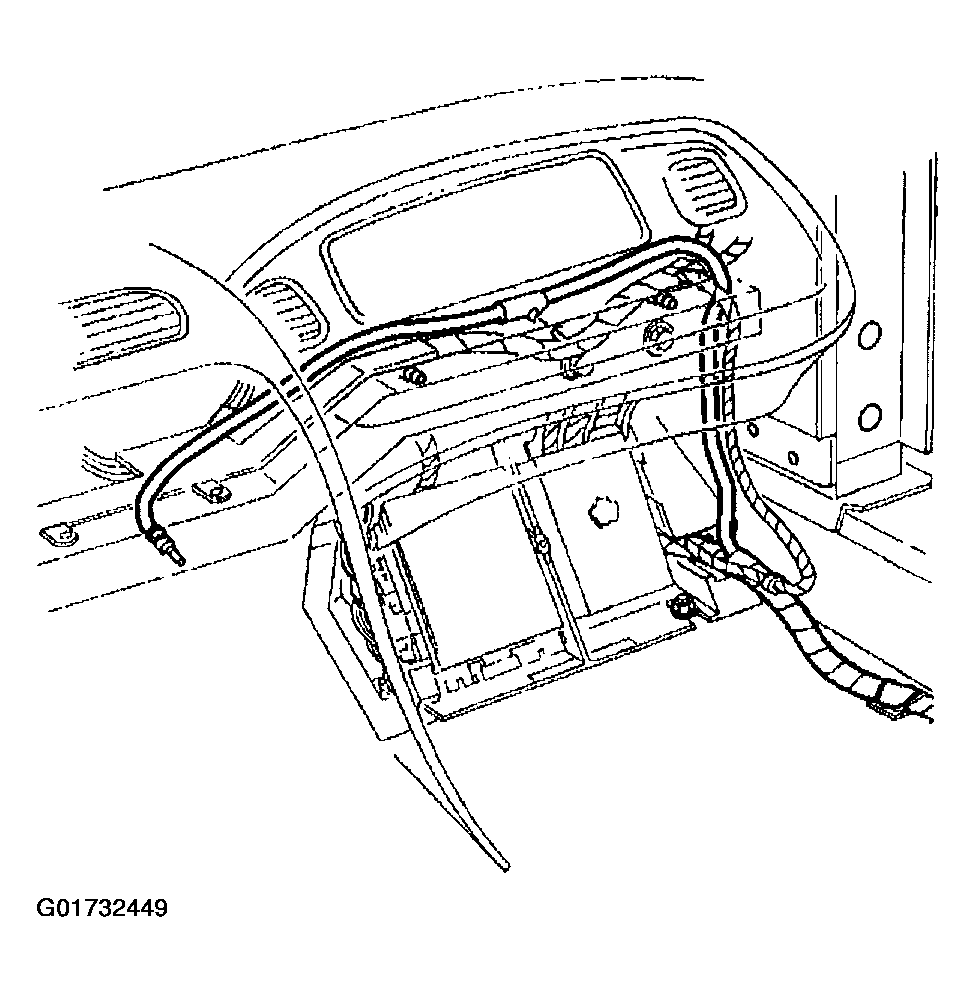 Courtesy of GENERAL MOTORS CORP.
- Raise the RH headlamp manually.
- Turn the headlamp motor/actuator manual control knob counterclockwise to raise the headlamp
- Disconnect the RH headlamp wiring harness electrical connector from the forward lamp wiring harness.
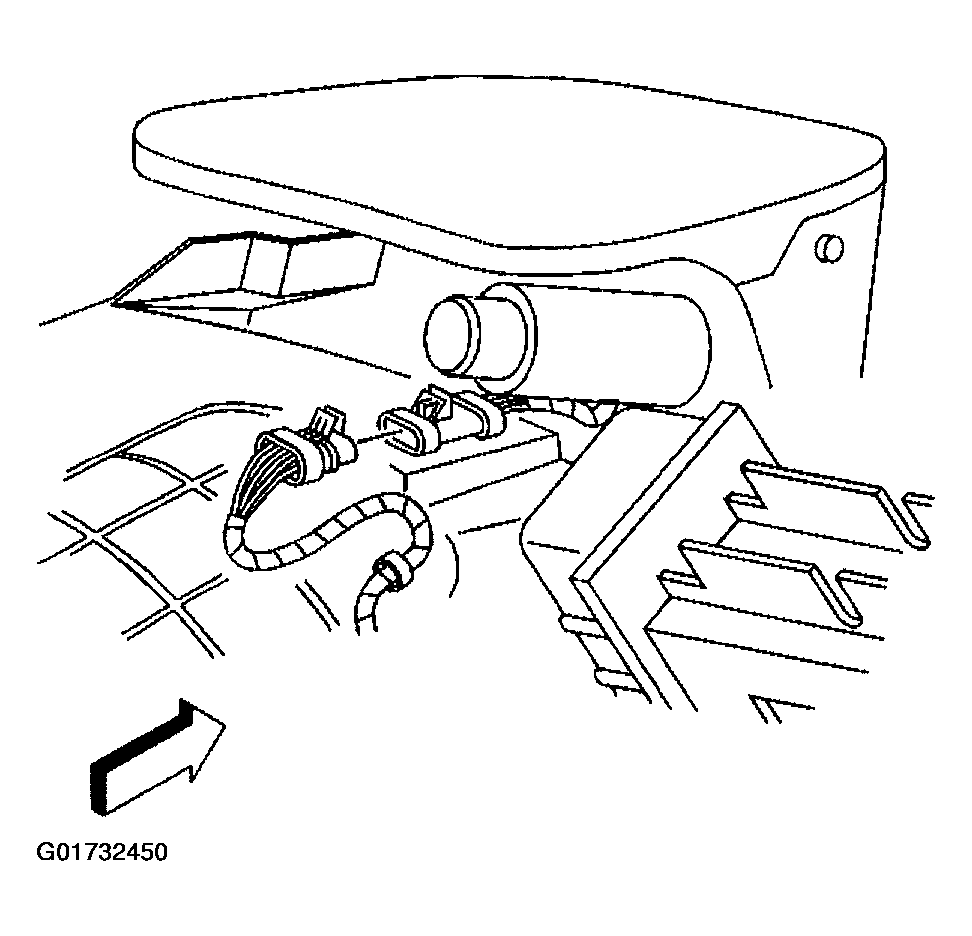 Courtesy of GENERAL MOTORS CORP.
- Raise and suitably support the vehicle. Refer to LIFTING AND JACKING THE VEHICLE
.
- Remove the front fascia lower closeout panel. Refer to CLOSE OUT PANEL - FRONT BUMPER FASCIA LOWER
.
- Release the brake caliper cooling duct from the front fascia and reposition the duct.
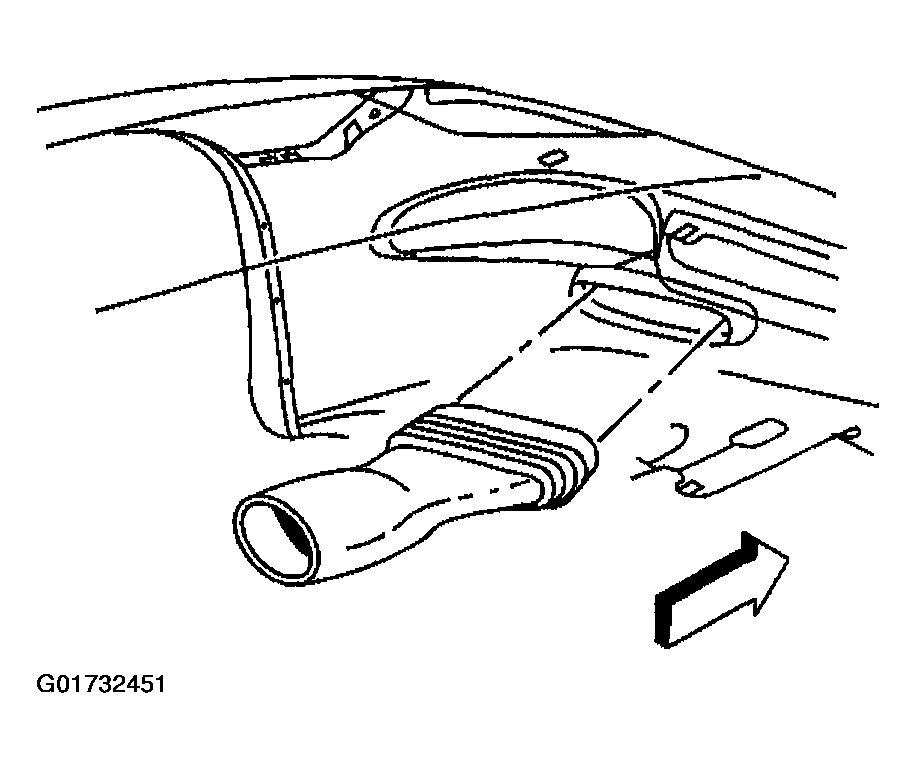 Courtesy of GENERAL MOTORS CORP.
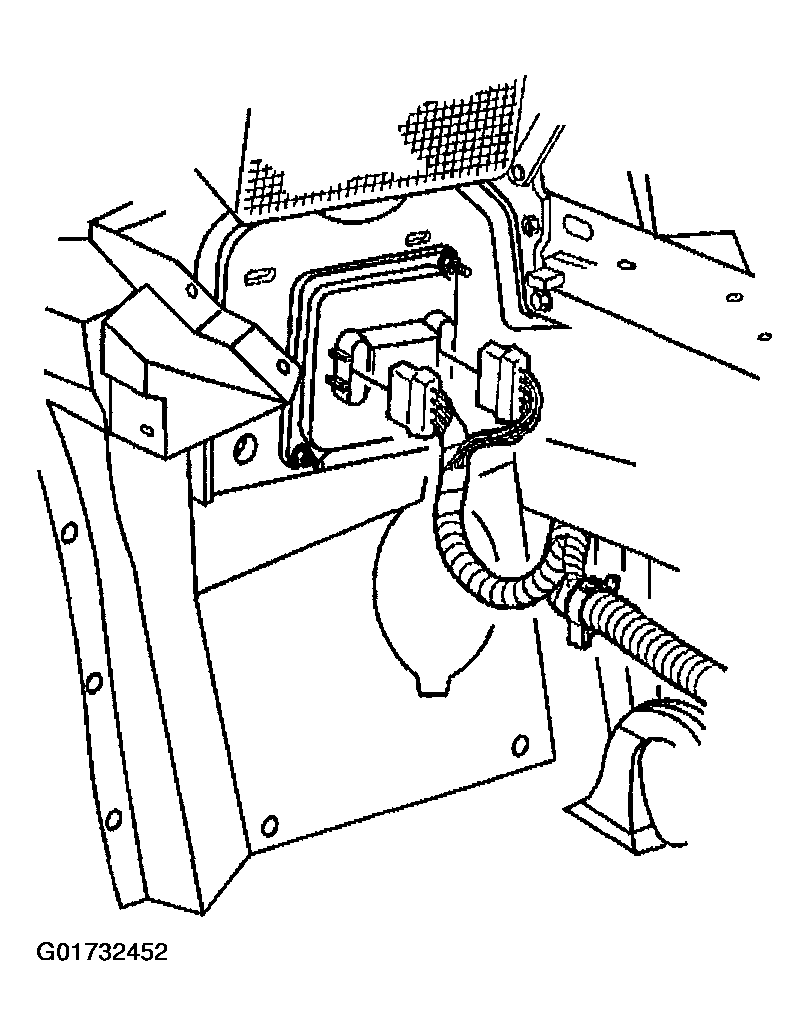
- Disconnect the electrical connectors from the headlamp control module.
 Courtesy of GENERAL MOTORS CORP.
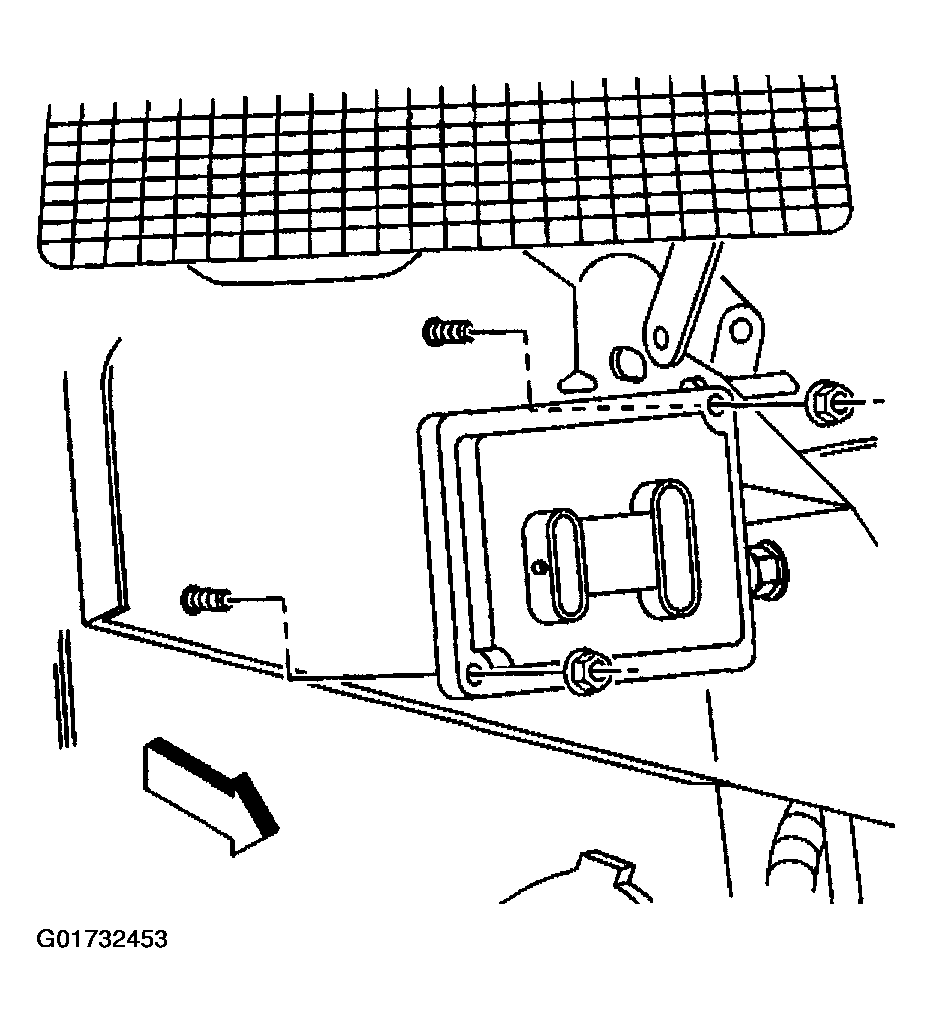
- Remove the nuts mounting the module to the headlamp bracket.
- Remove the module from the vehicle.
 Courtesy of GENERAL MOTORS CORP.