Installation Procedure
 Courtesy of GENERAL MOTORS CORP.
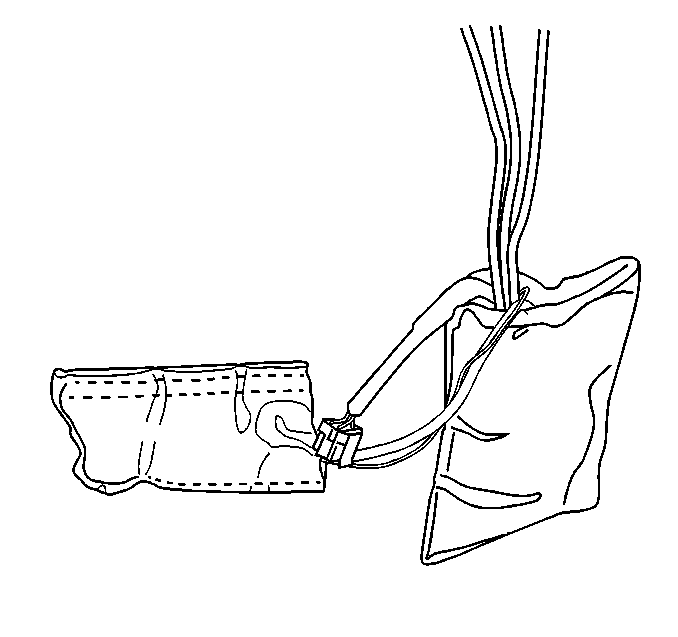
- Lay the new pump and control module assembly on top of the seat spring assembly.
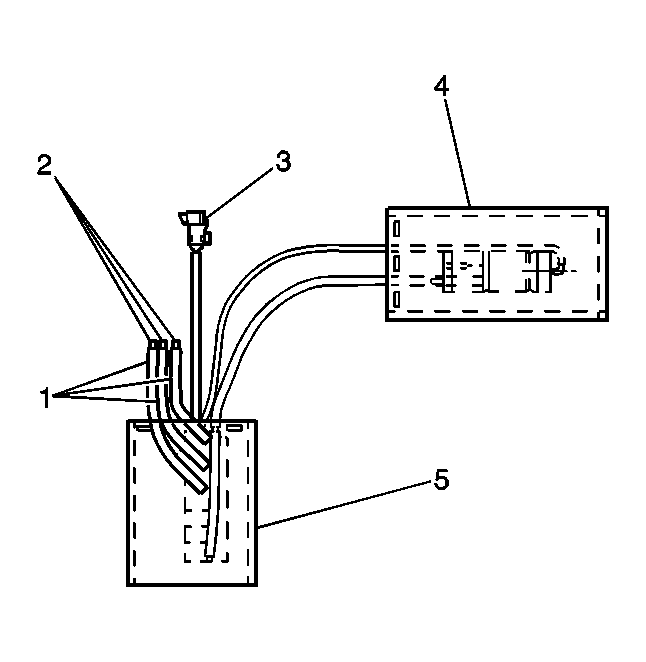
- Apply a very small amount of air to each of the 2 lumbar bladder hoses. Perform the procedure in the next step based upon the following information:
- If the upper lumbar inflates, connect that hose to the hose labeled #3 on the new pump.
- If the lower lumbar inflates, connect that hose to the hose labeled #4 on the new pump.
 Courtesy of GENERAL MOTORS CORP.
- Using Loctite™ 406, or equivalent, glue each hose to the fitting (2) in the module hose.
- Position the hose just over the edge of the barb on the attaching fitting.
- Apply the adhesive completely around the fitting.
- Quickly push the hose the rest of the way onto the fitting.
 Courtesy of GENERAL MOTORS CORP.
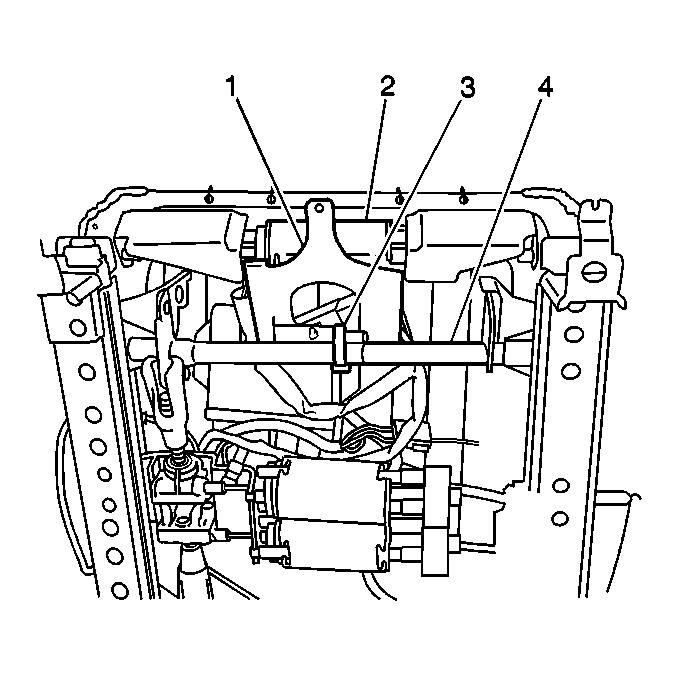
- Insert the pump and the control module down under the seat support wires.
- Attach the control module with the J strips facing outward to the underside of the seat cushion support wires.
- Connect the electrical connector to the control module.
- Tie strap the pump to the torque tube (4) under the front of the seat.
- Install the seat cushion trim cover. Refer to Driver Seat Cushion Pad Replacement or to Passenger Seat Cushion Pad Replacement .
- Install the seat. Refer to Seat Replacement .