Test A: All Power Windows Inoperative: Testing
- If door systems diagnostic systems check has been performed, go to next step. If door systems diagnostic systems check has not been performed, perform DOOR SYSTEMS DIAGNOSTIC SYSTEM CHECK
under SELF-DIAGNOSTIC SYSTEM.
- Turn ignition switch to RUN position. Attempt to operate power windows from Driver Door Switch Assembly (DDSA), and from passenger window switches located on appropriate passenger door. If any one window is inoperative, repair inoperative power window by symptom. See SYMPTOM INDEX
. If all windows are inoperative, go to next step.
- Remove PWR WDO circuit breaker (30-amp) located in rear fuse block. Rear fuse block is located under left side of rear passenger seat. Using test light connected to ground, probe battery supply voltage terminal of PWR WDO circuit breaker. If test light illuminates, go to next step. If test light does not illuminate, go to step 9
.
- Connect test light between rear fuse block PWR WDO circuit breaker socket connectors. See WIRING DIAGRAMS
. If test light illuminates, go to step 6
. If test light does not illuminate, leave test light connected and go to next step.
- Operate any power window switch while observing test light. If test light illuminates, go to step 13
. If test light does not illuminate, go to step 8
.
- Access all door modules. Door modules are located in appropriate door, behind trim panel. Disconnect door module harness connectors one at a time, while observing test light. If test light goes out after any module is disconnected, go to next step. If test light does not go out after all modules are disconnected, go to step 10
.
- Check for poor, loose or corroded terminals in suspect door module harness connector. If problem is found, repair as necessary and go to step 14
. If no problem is found, go to step 11
.
- Check for poor, loose or corroded terminals in rear fuse block harness connectors. If problem is found, repair as necessary and go to step 14
. If no problem is found, go to step 12
.
- Repair open in battery supply circuit of rear fuse block (Black wire) between battery and rear fuse block. See POWER DISTRIBUTION ARTICLE in WIRING DIAGRAMS. After repairs are made, go to step 14
.
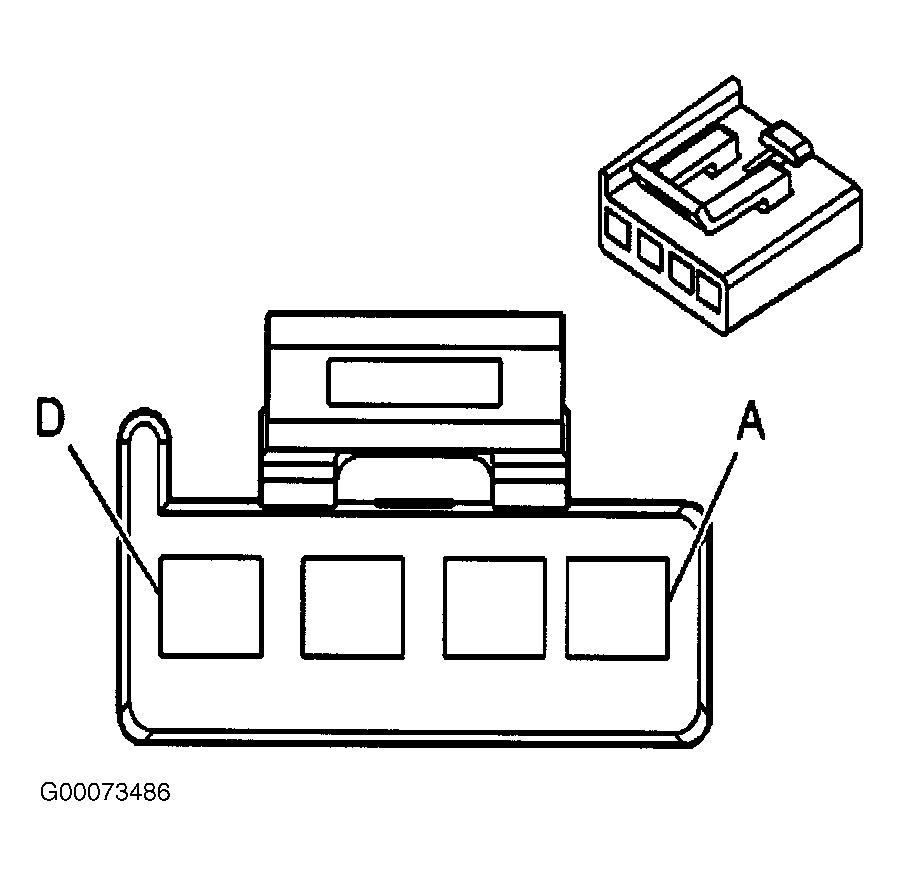
- Repair short to ground in battery voltage circuit associated with suspect door module (Orange wire) between rear fuse block and suspect door module harness connector C1 terminal "A". See Fig 1
. See WIRING DIAGRAMS
. After repairs are made, go to step 14
.
- Replace suspect door module. See DOOR MODULES
under REMOVAL & INSTALLATION. After repairs are made, go to step 14
.
- Replace rear fuse block. See REAR FUSE BLOCK under REMOVAL & INSTALLATION in POWER SEATS - DEVILLE article. After repairs are made, go to step 14
.
- Replace rear fuse block PWR WDO circuit breaker. After repairs are made, go to next step.
- Operate system to verify repair. If system operates normally, testing is complete. If system does not operate normally, go to step 2
.
 Courtesy of GENERAL MOTORS CORP.